Shower Pan Repair in Arlington & Fort Worth
A leaking shower pan causes hidden water damage, mold growth, and structural deterioration. We diagnose the source, remove the failed system, and rebuild with proper waterproofing that passes a flood test.
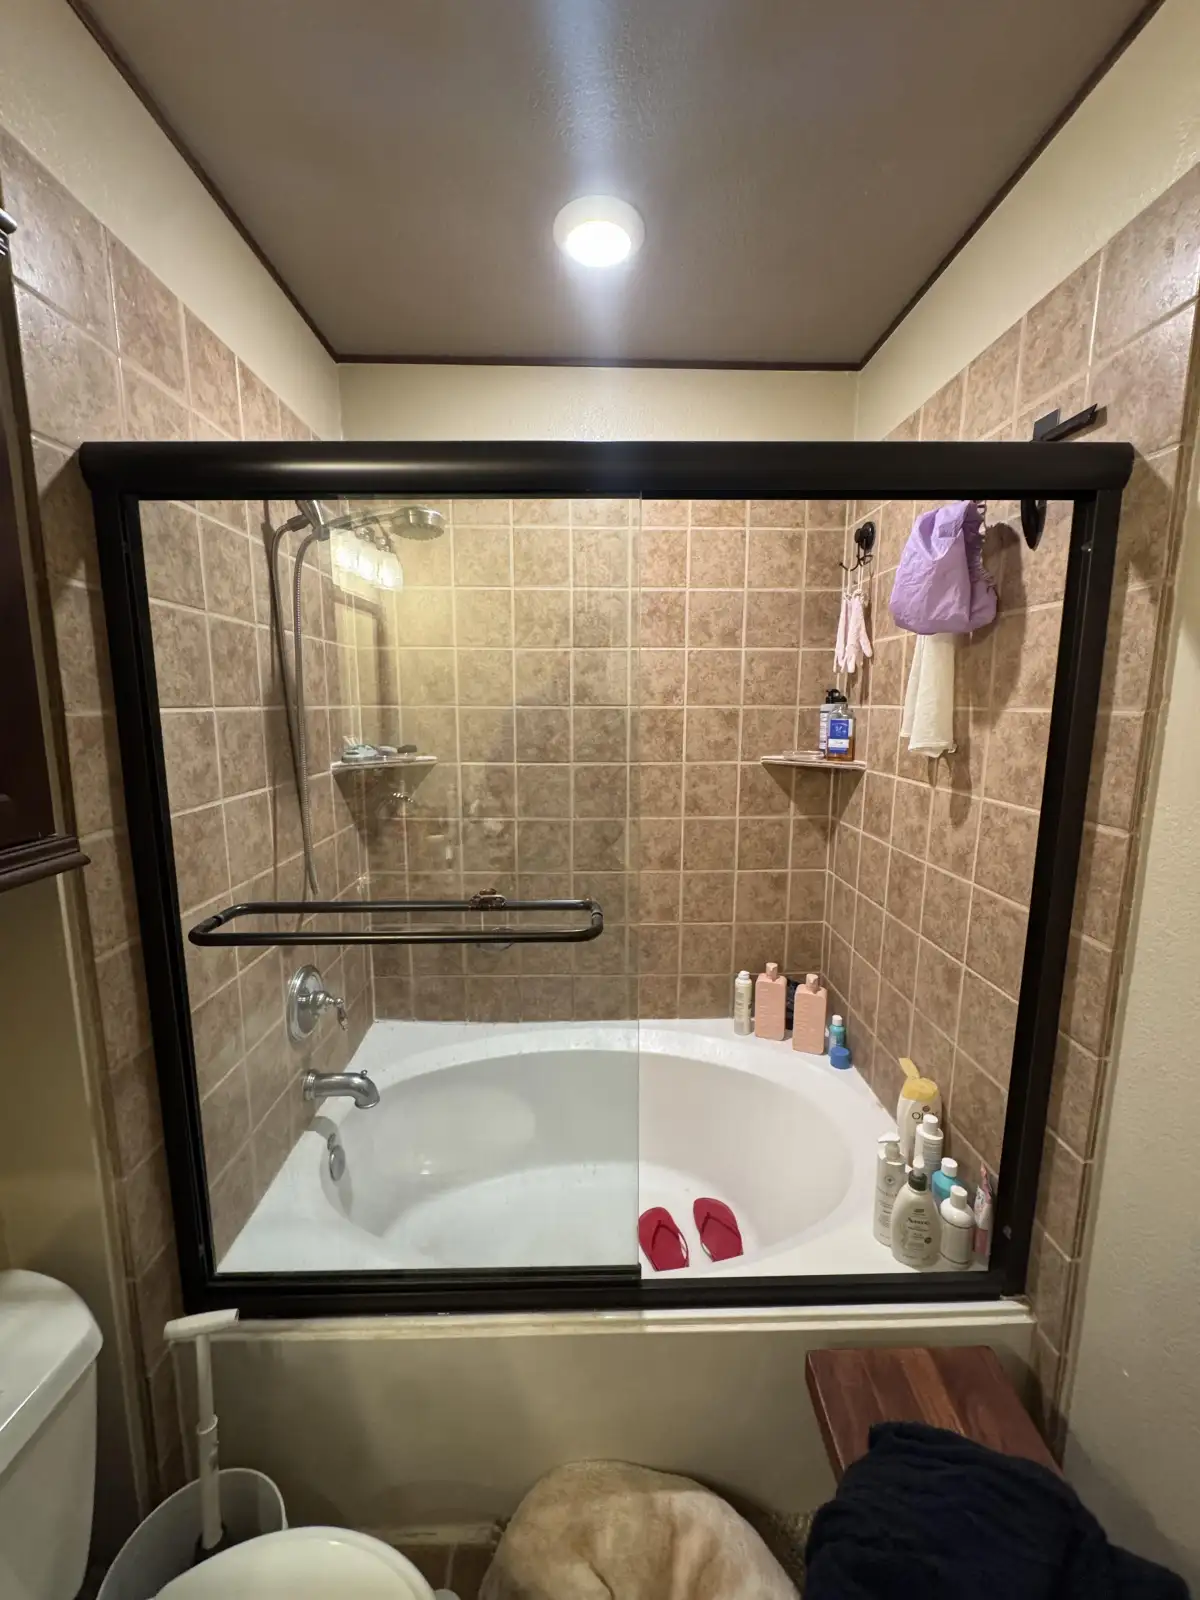
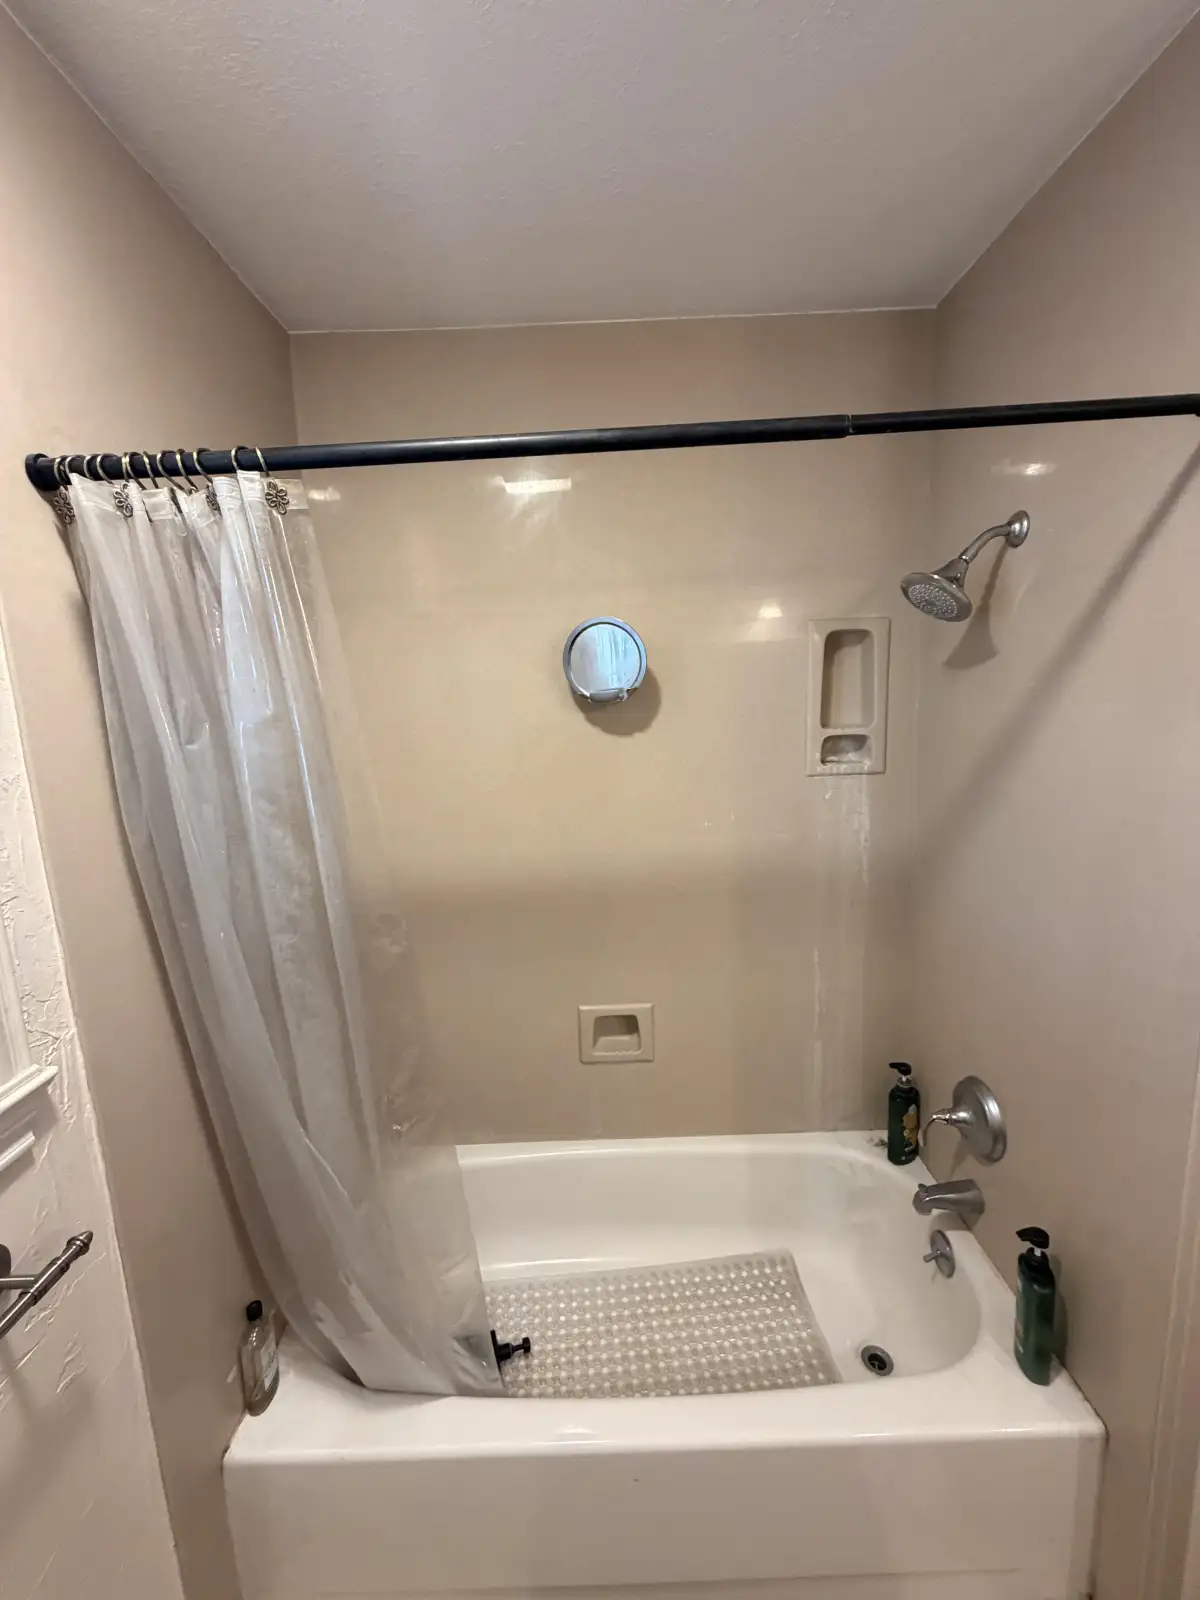
How Do You Know Your Shower Pan Is Leaking?
A leaking shower pan often goes undetected for months or years because the water escapes beneath the tile — not on top of it. By the time visible signs appear, significant damage may already exist behind the walls or beneath the floor. Here are the most common indicators of shower pan failure in DFW homes.
Water stains on the ceiling below the bathroom. If your shower is on a second floor, brown water stains or bubbling paint on the ceiling directly below the shower are the clearest sign of a pan leak. On slab-foundation homes (common throughout Fort Worth and Arlington), the water has nowhere to go but into the slab, making detection harder.
Loose or hollow-sounding floor tile. If the tile on the shower floor sounds hollow when tapped, the tile bond has failed — usually because persistent moisture beneath the tile has degraded the thinset or substrate. This is a strong indicator that water is getting past the tile layer and the waterproofing (if any exists) has failed.
Musty smell near the shower. Persistent musty or moldy odors near the shower — especially noticeable when the bathroom has been closed up — indicate moisture accumulation behind the walls or beneath the floor. The moisture source is almost always a failed shower pan or missing waterproofing membrane.
Cracked grout that keeps returning. If you re-grout the shower floor and the grout cracks again within weeks, the substrate beneath the tile is moving — typically because it has absorbed water and is expanding and contracting. Re-grouting addresses the symptom, not the cause. The real problem is below the tile.
Why Shower Pans Fail in North Texas Homes
Understanding why shower pans fail helps explain why repair typically means full replacement rather than a patch job.
No Waterproofing Membrane
Many showers built in DFW homes during the 1980s, 1990s, and even 2000s were tiled directly over cement board or drywall with no waterproofing membrane. The assumption was that tile and grout would keep water out. They do not — grout is porous, and over time, water migrates through the grout and into the substrate behind it. Without a waterproofing layer, that moisture enters the wall structure and subfloor, causing rot, mold, and eventual failure.
Inadequate Slope
A shower pan must slope toward the drain at a minimum of 1/4 inch per foot. If the slope is insufficient, water pools on the shower floor instead of draining completely. Standing water puts constant hydrostatic pressure on the grout joints and any imperfections in the waterproofing, eventually finding a path through. Many builder-grade showers in Tarrant County homes have marginal slopes that work initially but fail as grout and sealant age.
PVC Liner Failure
Traditional shower pan construction uses a PVC or CPE liner membrane beneath a mortar bed. These liners are heat-welded or solvent-bonded at seams and folded at corners. Over decades, the liner material can become brittle, the seams can separate, and the nail holes at the curb top can open up. Once the liner fails, water bypasses it and enters the structure below. Liners installed before the early 2000s are especially prone to age-related degradation.
Drain Connection Failure
The drain assembly is the most common single point of failure in a shower pan. The connection between the drain body, the waterproofing membrane, and the drain pipe must be watertight. If the drain clamp loosens, the sealant fails, or the membrane was not properly integrated with the drain flange, water escapes at the drain connection — even if the rest of the pan is intact. This is a frequent issue in showers with traditional two-piece (clamping) drain assemblies.
Foundation Movement
DFW homes built on expansive clay soils experience seasonal foundation movement as the soil absorbs and releases moisture. This movement can crack mortar shower pans, separate liner seams, and break the seal at drain connections. Showers built directly on concrete slabs without an uncoupling membrane are especially vulnerable — the rigid mortar bed and tile cannot flex with the slab, leading to cracks that allow water to penetrate the system.
Previous Improper Repair
Some homeowners or contractors attempt to fix a leaking shower pan by re-grouting, applying surface sealant, or painting liquid waterproofing over existing tile. These approaches may slow the leak temporarily but do not address the underlying failure. The water is getting beneath the tile surface — no amount of surface treatment solves a subsurface waterproofing failure. Proper repair requires removing the tile and rebuilding the waterproofing system from the substrate up.
How We Repair a Leaking Shower Pan
A proper shower pan repair is really a shower pan replacement. Patching a failed waterproofing system does not work — the only reliable fix is to remove the failed system completely and rebuild it correctly. Here is our process.
1. Assessment
We inspect the shower to identify the leak source. This may include checking for water stains on adjacent surfaces, testing the drain connection, and evaluating the condition of the existing tile and grout. In some cases, we remove a section of tile to inspect the substrate and waterproofing (or lack thereof) behind it.
2. Demolition
All existing tile, mortar bed, waterproofing material (liner or membrane), and damaged substrate are removed from the shower floor and lower walls. We inspect the structure behind the tile for mold, rot, or water damage and address any damage found before proceeding. On slab-foundation homes, we inspect the drain pipe connection in the concrete.
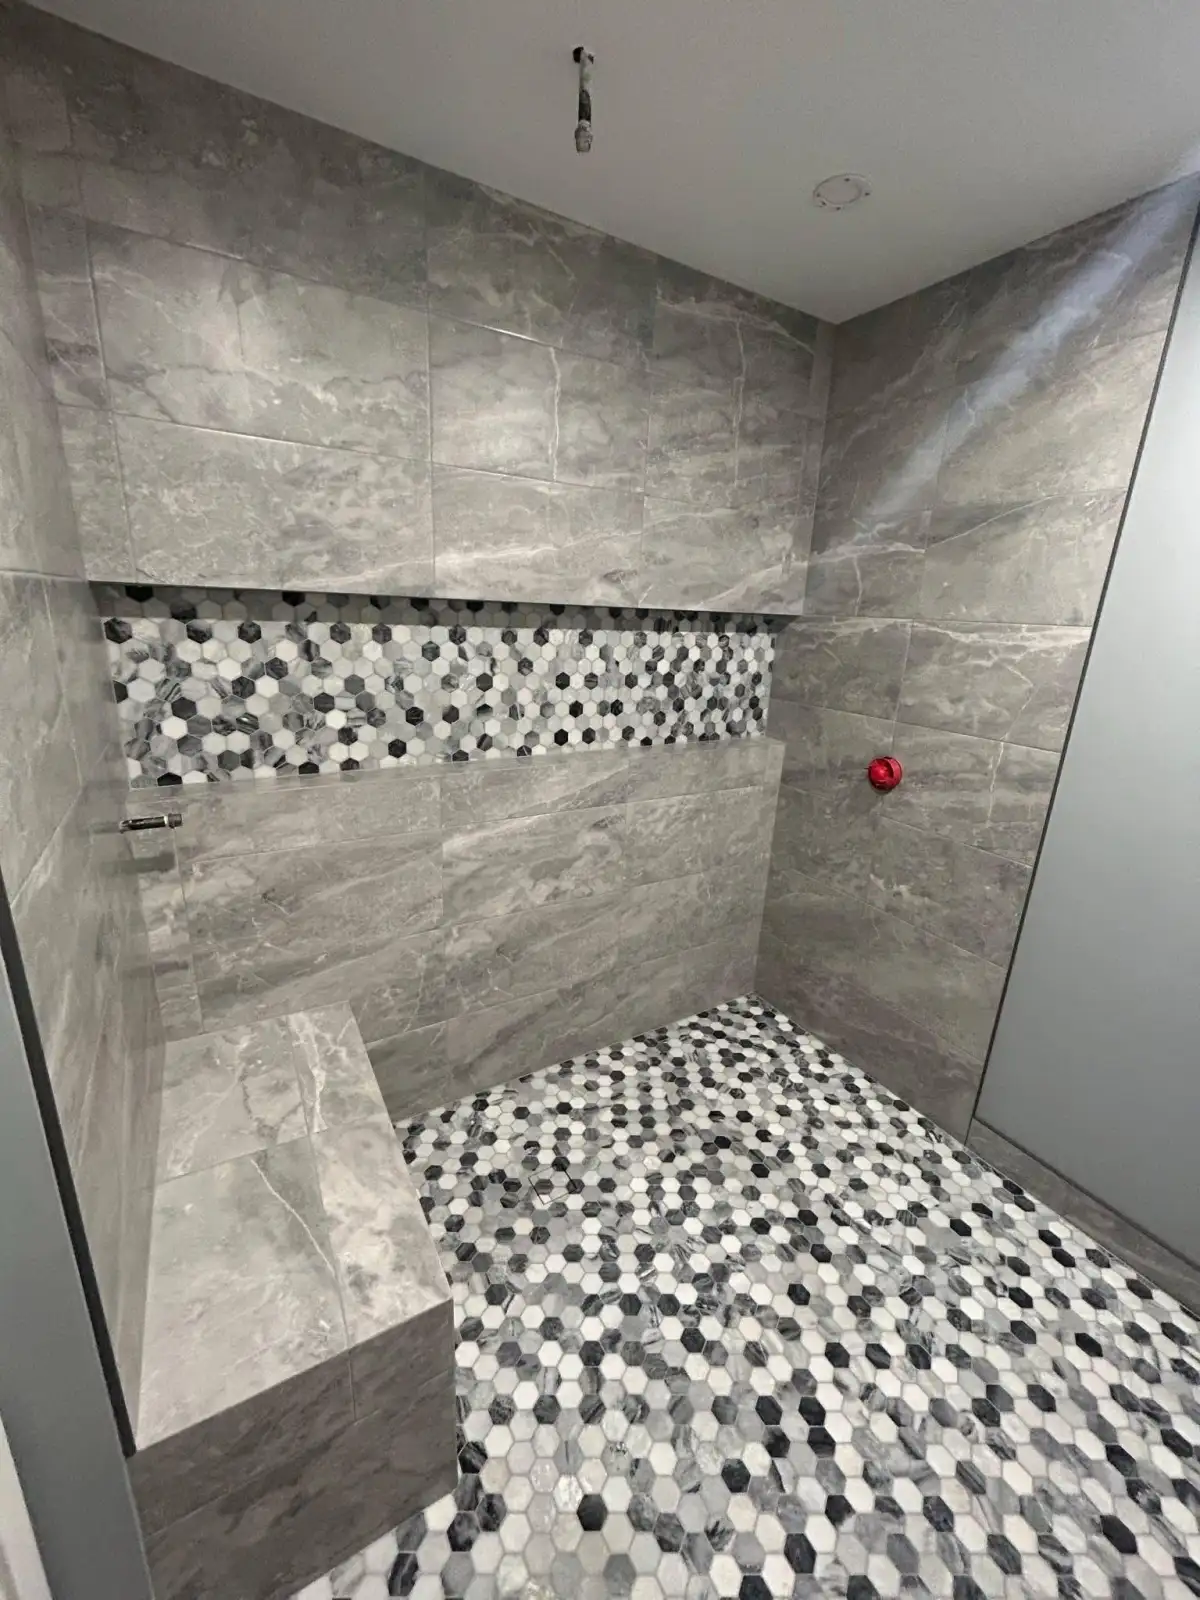
3. Substrate Preparation
New cement board or foam panel (Schluter-KERDI-BOARD) is installed on the shower walls. The shower floor is prepared with a pre-sloped mortar bed or a Schluter-KERDI-SHOWER-ST pre-formed tray that provides the correct drainage slope. The drain assembly is installed with a bonded flange connection that integrates directly with the waterproofing membrane.
4. Waterproofing
Schluter-KERDI waterproofing membrane is installed on all shower surfaces. Pre-formed corners (KERDI-KERECK) and pipe seals (KERDI-SEAL) create a continuous waterproof envelope with no seams that rely on sealant alone. The completed waterproofing is flood-tested for 24 hours — we fill the shower pan with water and verify it holds before any tile is set.
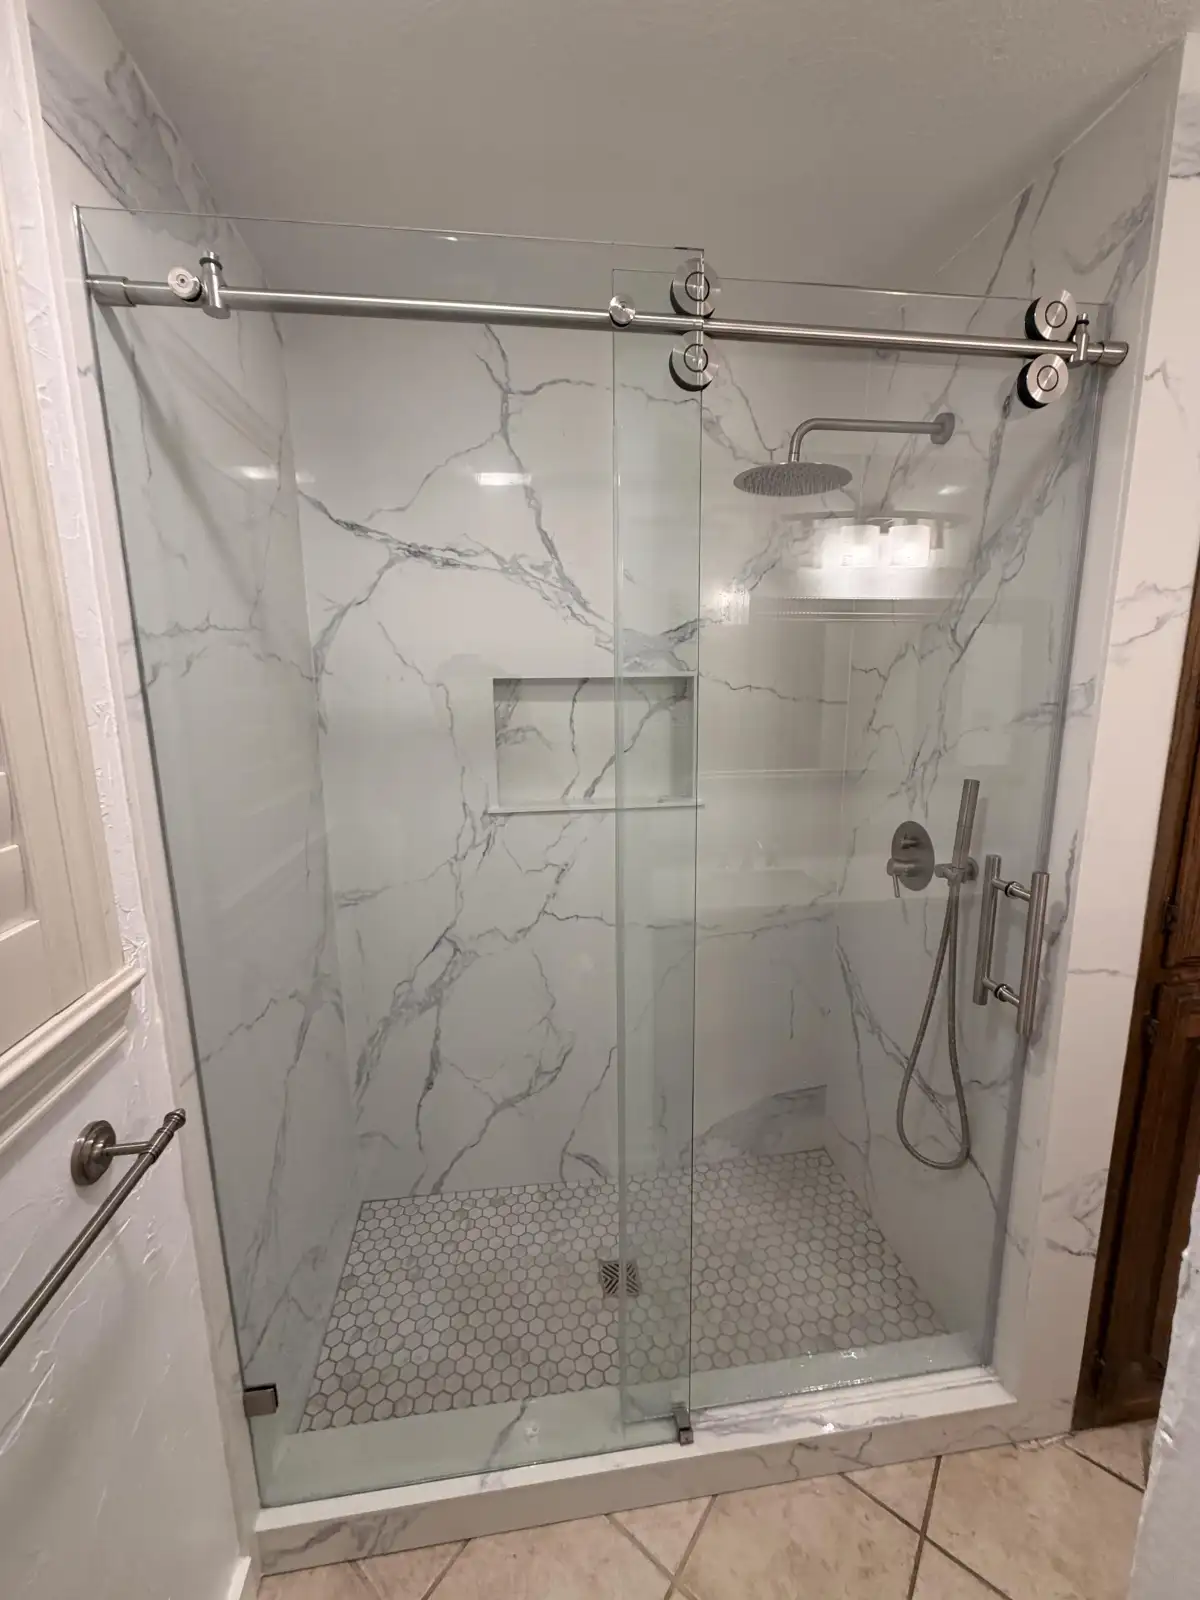
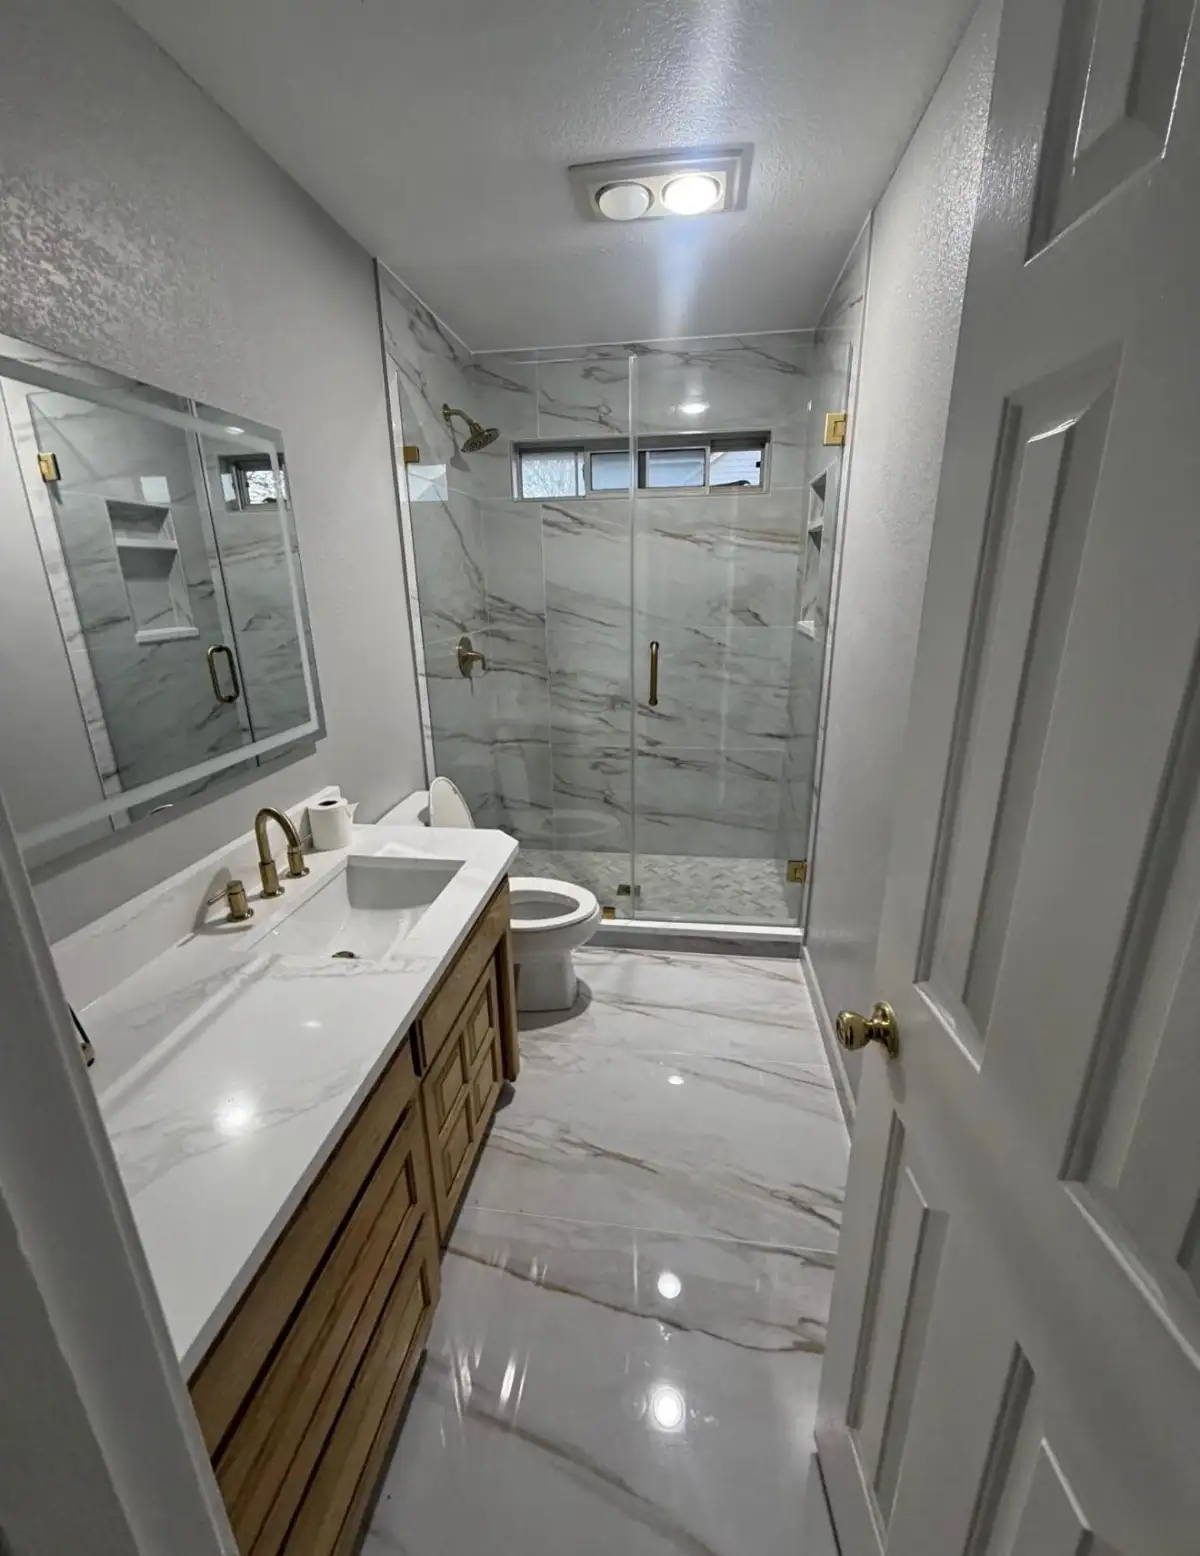
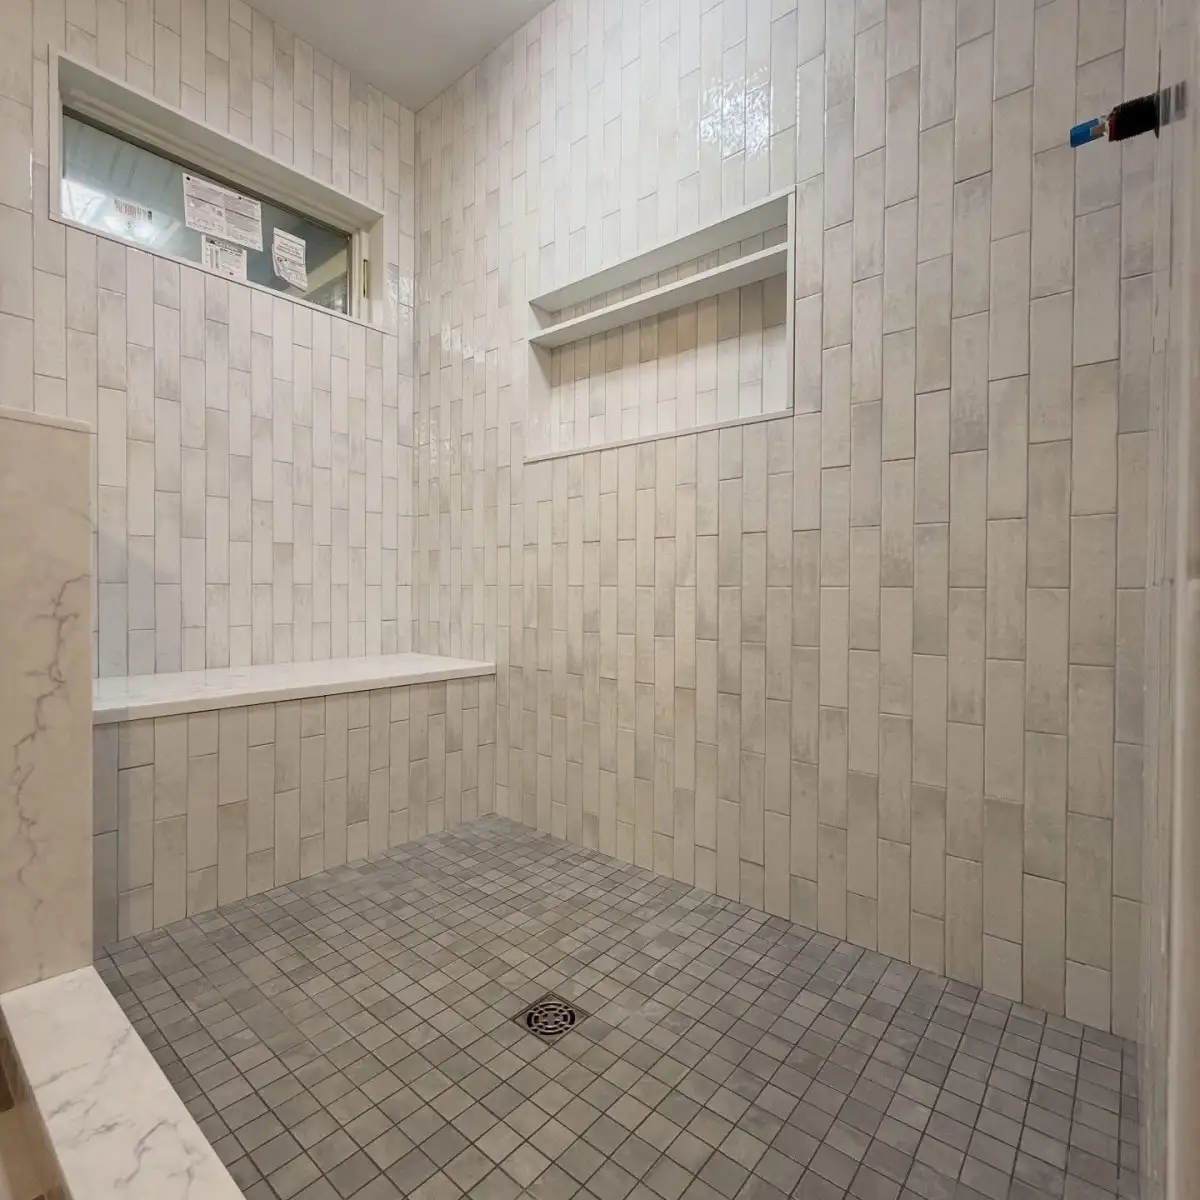
5. Tile & Finish
New mosaic tile is installed on the shower floor (for proper drainage slope conformity and wet traction), and wall tile is installed on the lower walls that were affected. We match existing tile when possible or tile the entire shower for a cohesive finished look. Grouting, sealing, and fixture reinstallation complete the repair.
We had a water stain growing on our first-floor ceiling and knew the upstairs shower was the cause. Two other contractors suggested re-grouting or applying sealant. Water & Stone came out, explained that the shower pan had no waterproofing membrane at all, and recommended a proper rebuild. They tore it out, installed a Schluter membrane, flood-tested it, and re-tiled the entire shower floor and lower walls. No more leak. Should have called them first.
More Shower & Bathroom Services
Shower Remodeling
Complete shower renovation including waterproofing, tile, glass, and fixtures.
Mold & Shower Wall Repair
Mold remediation and shower wall rebuild with proper waterproofing to prevent recurrence.
Tile Installation
Precision tile installation for showers, floors, backsplashes, and accent walls.
Shower Pan Repair FAQ
In most cases, no. The waterproofing system is beneath the tile — repairing or replacing it requires removing the tile to access the membrane, mortar bed, and drain connection. Surface treatments (re-grouting, topical sealants) may slow the leak temporarily but do not fix the underlying waterproofing failure. A proper repair means removing the tile, rebuilding the waterproofing, and re-tiling. We know this is not the answer homeowners want to hear, but it is the honest one.
A shower pan replacement typically takes 5 to 8 days. This includes demolition (1 day), substrate preparation and drain work (1 day), waterproofing and flood testing (2-3 days including cure time), and tile installation and grouting (2-3 days). If damage behind the walls requires additional repair (mold remediation, structural repair), that may add 1 to 2 days depending on the extent of damage found after demolition.
Mold growth behind shower walls is a health concern, particularly for individuals with allergies, asthma, or respiratory sensitivities. The mold itself is not always visible — it grows on the drywall, wood studs, or substrate behind the tile where persistent moisture creates ideal growing conditions. During shower pan repair, we inspect all exposed surfaces for mold and address any growth found. If mold is present, we remove affected materials, treat the area, and install new substrate before waterproofing. See our mold and shower wall repair page for more details.
That depends on the condition of the rest of the shower and your budget. If the wall tile is also dated, damaged, or you were already considering a shower remodel, combining the pan repair with a full shower renovation makes sense — since the tile will already be removed, the additional cost to tile the entire shower is mostly material. We can provide estimates for both options (pan repair only vs. full shower remodel) so you can make an informed decision.
Shower Pan Repair Across the DFW Metroplex
Based in Arlington, we provide shower pan repair and replacement throughout the western DFW corridor.
Suspect a Leaking Shower Pan?
Do not wait for the damage to spread. Schedule a free assessment — we will identify the source of the leak and provide honest recommendations for repair.