Mold in Shower Wall Repair in DFW
Mold behind shower walls is a waterproofing failure, not a cleaning problem. We remove the mold, rebuild the waterproofing system, and re-tile so the problem does not come back.
Why Does Mold Grow Behind Shower Walls?
Mold requires three things to grow: moisture, organic material, and time. Behind a shower wall, all three are present when the waterproofing has failed. Moisture passes through porous grout and reaches the substrate behind the tile. If that substrate is paper-faced drywall (common in builder-grade showers throughout the DFW metroplex), the paper backing provides the organic food source mold needs. Given consistent moisture from daily shower use, mold colonies can establish within weeks and spread extensively over months and years.
The critical point: mold behind shower walls is a symptom of waterproofing failure. Cleaning visible mold on grout or caulk lines addresses the surface — not the source. If mold is growing behind the tile, no amount of bleach, mold spray, or re-grouting will solve the problem. The moisture pathway must be eliminated by rebuilding the waterproofing system.
At Water & Stone, mold and shower wall repair means removing all affected materials, treating the mold, and rebuilding the shower with a proper Schluter-KERDI waterproofing membrane system that prevents moisture from reaching the substrate in the first place. This eliminates the conditions that allowed mold to grow and ensures it does not return.
Signs of Mold Behind Your Shower Walls
Mold behind shower walls is hidden — but it leaves clues. If you notice any of these signs, the problem is likely already established.
Persistent Musty Odor
A musty or earthy smell near the shower — especially noticeable when the bathroom door has been closed for a while — is one of the earliest indicators of hidden mold growth. The smell comes from mold colonies metabolizing organic materials behind the tile. If the odor persists after thorough cleaning of visible surfaces, the source is behind the wall, not on it.
Dark Spots in Grout or Caulk
Black or dark discoloration in shower grout that returns quickly after cleaning indicates that mold is not just on the surface — it is growing from behind the grout, pushing through to the visible face. Similarly, caulk lines that turn black within weeks of replacement suggest moisture is consistently present behind the caulk joint, feeding mold growth on the substrate behind it.
Soft or Spongy Walls
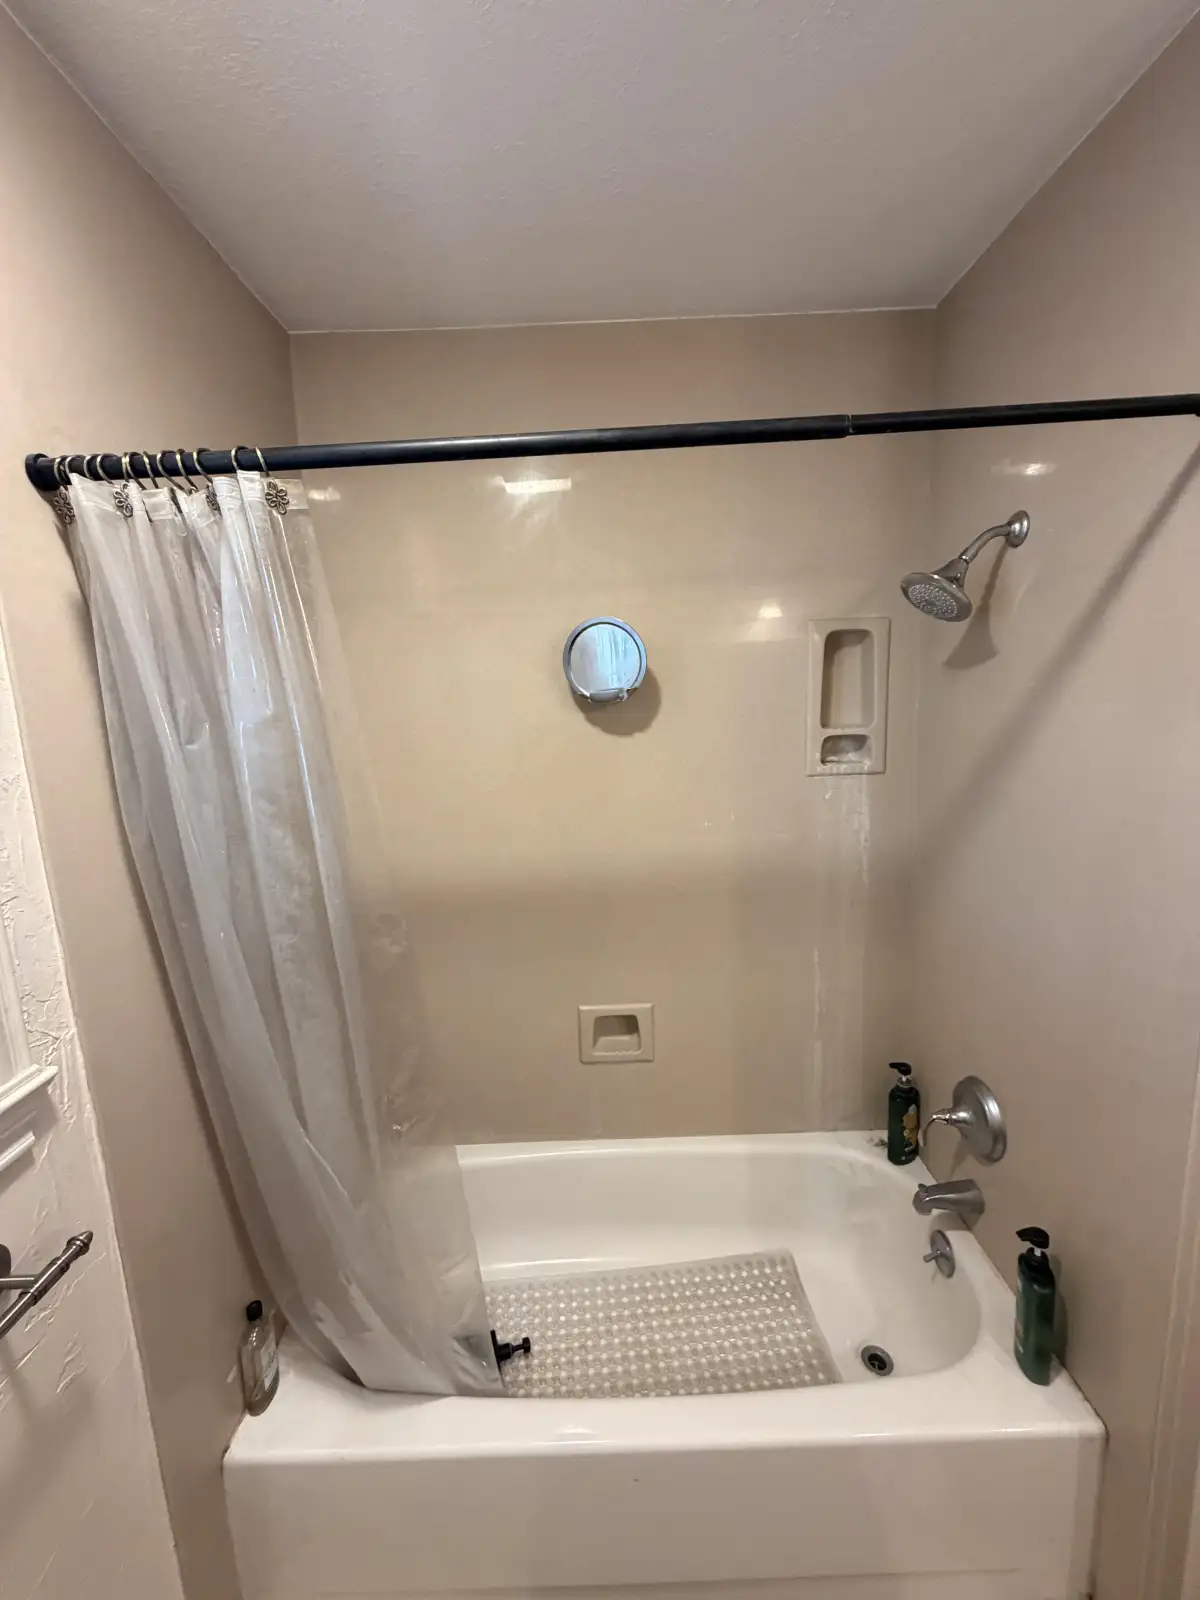
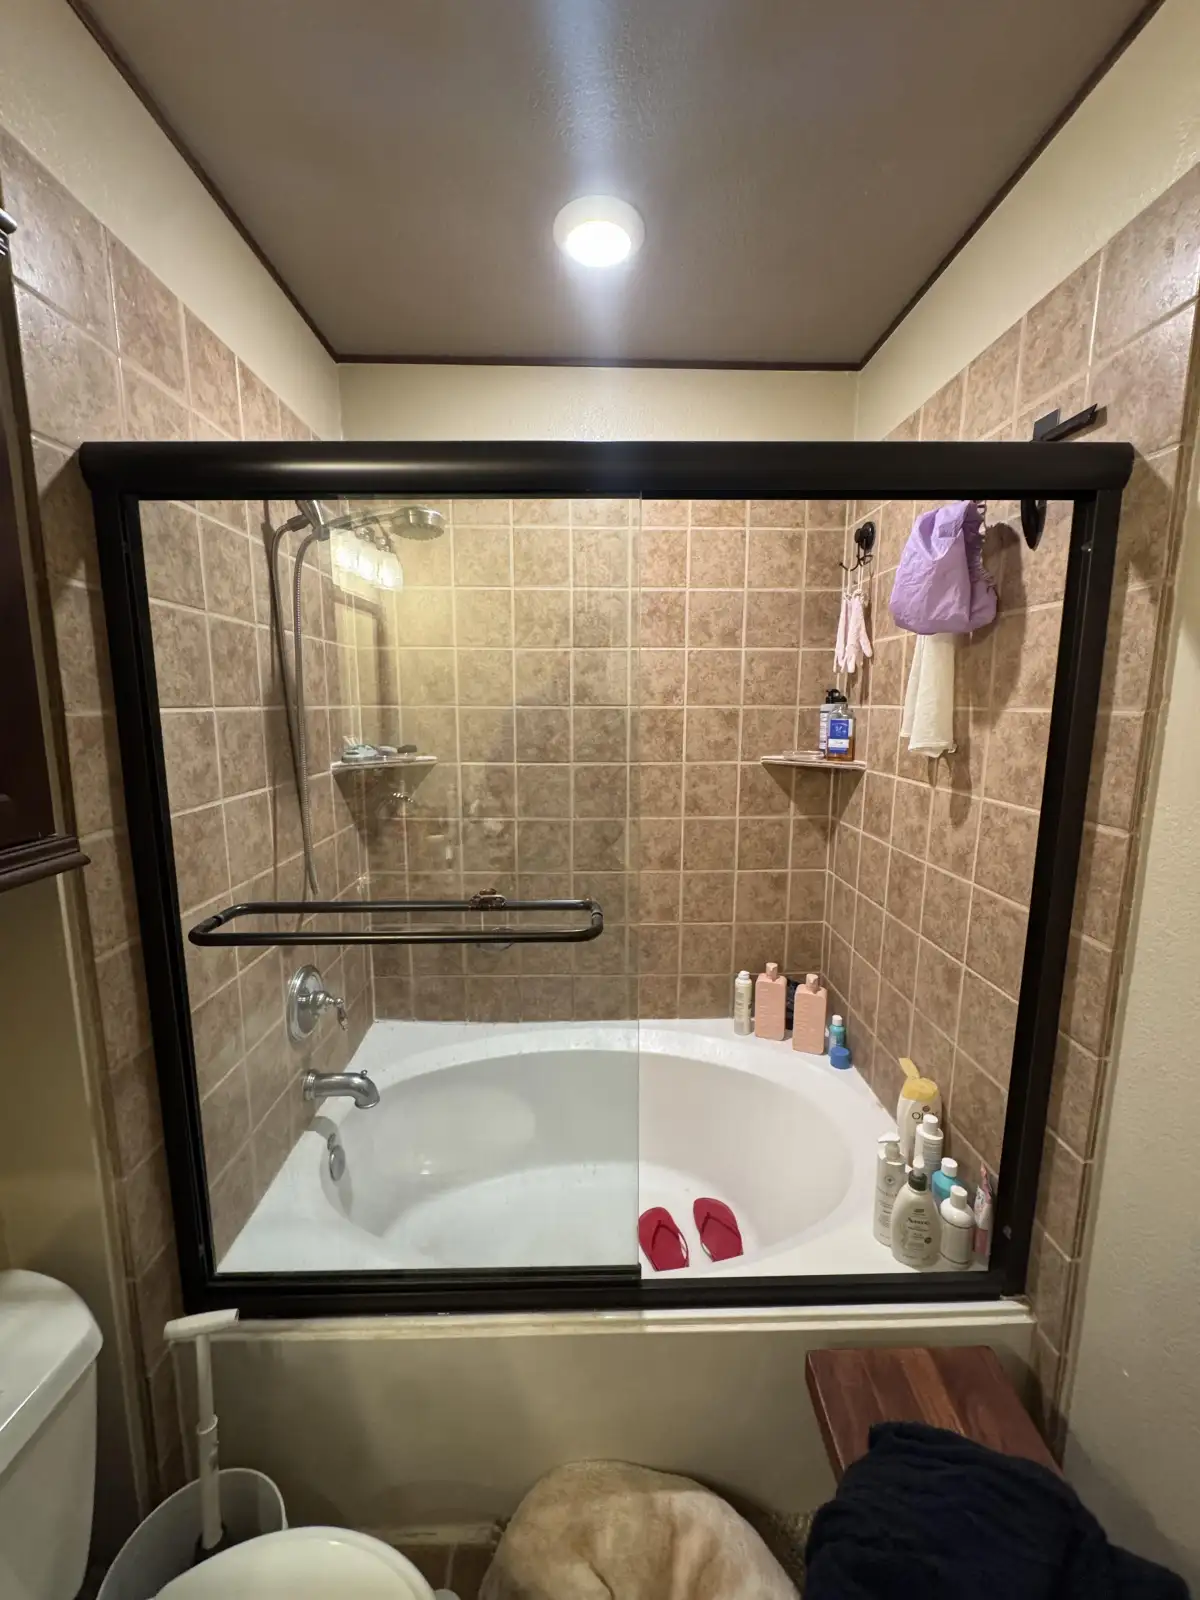
If the shower wall feels soft, spongy, or flexes when you press on it, the substrate behind the tile has absorbed water and is deteriorating. Paper-faced drywall (the wrong substrate for wet areas, but commonly used in builder-grade construction) becomes soft and crumbly when saturated. At this point, the structural integrity of the wall is compromised and the tile installation is at risk of failure.
Tile Pulling Away from Wall
Tiles that are loose, cracked, or visibly pulling away from the wall surface indicate that the thinset bond has failed — typically because moisture has degraded the substrate behind the tile. When drywall deteriorates from moisture, the thinset loses its grip and tiles begin to separate. Pushing a loose tile back and re-gluing it is a temporary fix that ignores the moisture and mold behind it.
Discoloration on Adjacent Walls
Water stains, paint bubbling, or discoloration on the wall adjacent to the shower (outside the shower area) indicate that moisture is migrating through the wall cavity from the shower side. This means water is not just behind the tile — it has traveled through the wall structure and is affecting surfaces on the other side. This level of moisture migration typically involves significant mold growth within the wall cavity.
Health Symptoms
Persistent allergy-like symptoms (sneezing, congestion, eye irritation, respiratory irritation) that seem worse in or near the bathroom can be associated with hidden mold exposure. While many factors affect indoor air quality, if these symptoms coincide with other physical signs of shower moisture problems, mold behind the shower walls is a likely contributor that should be investigated.
How We Repair Mold-Damaged Shower Walls
Mold repair in a shower requires removing all affected materials, treating the mold, and rebuilding with materials and waterproofing that prevent recurrence. Here is our step-by-step approach.
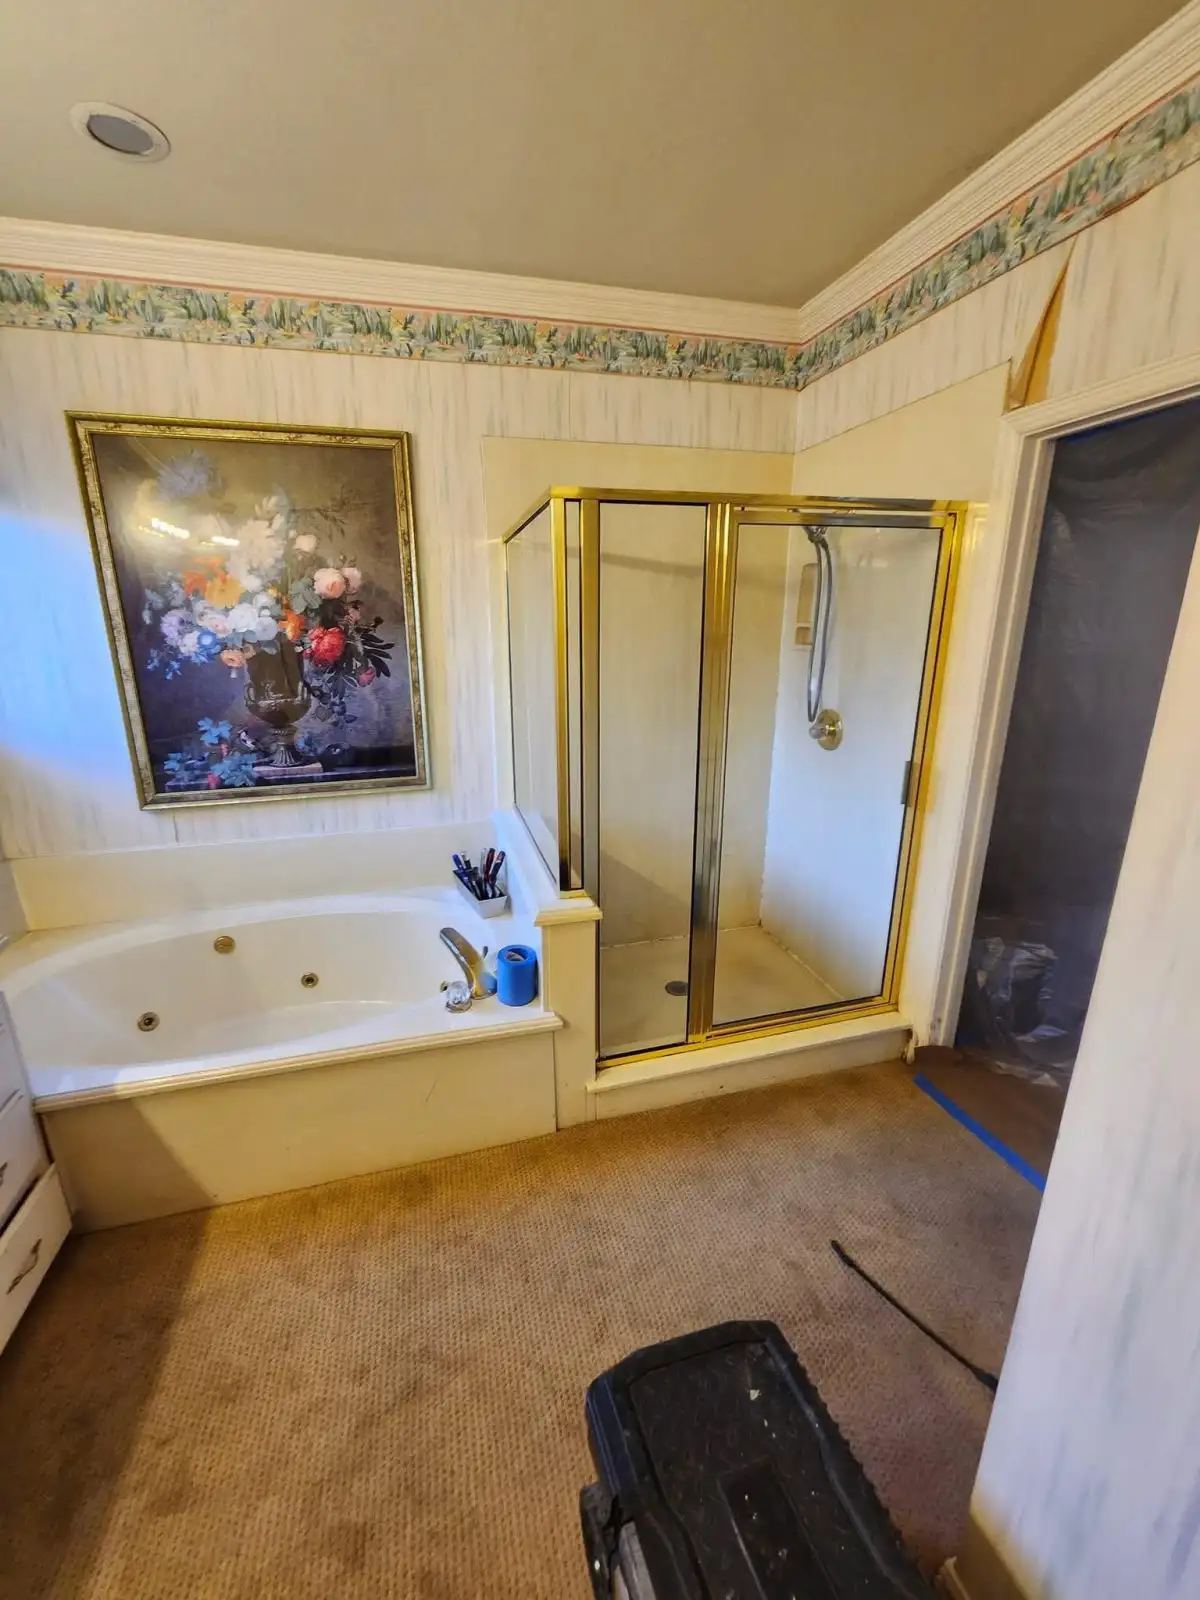
1. Containment & Demolition
We contain the work area with plastic sheeting to prevent mold spores from spreading to other areas of the home. All tile, thinset, and substrate material in the affected area are removed down to the wall studs. This exposes the full extent of the mold growth and any structural damage to the framing.
2. Mold Treatment
Exposed studs and framing are inspected for mold and treated with an EPA-registered antimicrobial solution. Wood framing that shows surface mold but remains structurally sound is treated, sanded, and sealed. Wood that has rotted or lost structural integrity is replaced. The area is allowed to dry completely before new materials are installed.
3. Substrate Replacement
Paper-faced drywall (the original substrate in most affected showers) is replaced with cement board or Schluter-KERDI-BOARD foam panel. Neither of these materials contains organic material that supports mold growth, and both provide a suitable substrate for waterproofing membrane and tile installation. This is a critical upgrade — reinstalling paper-faced drywall in a shower creates the same conditions that caused the original mold problem.
4. Waterproofing
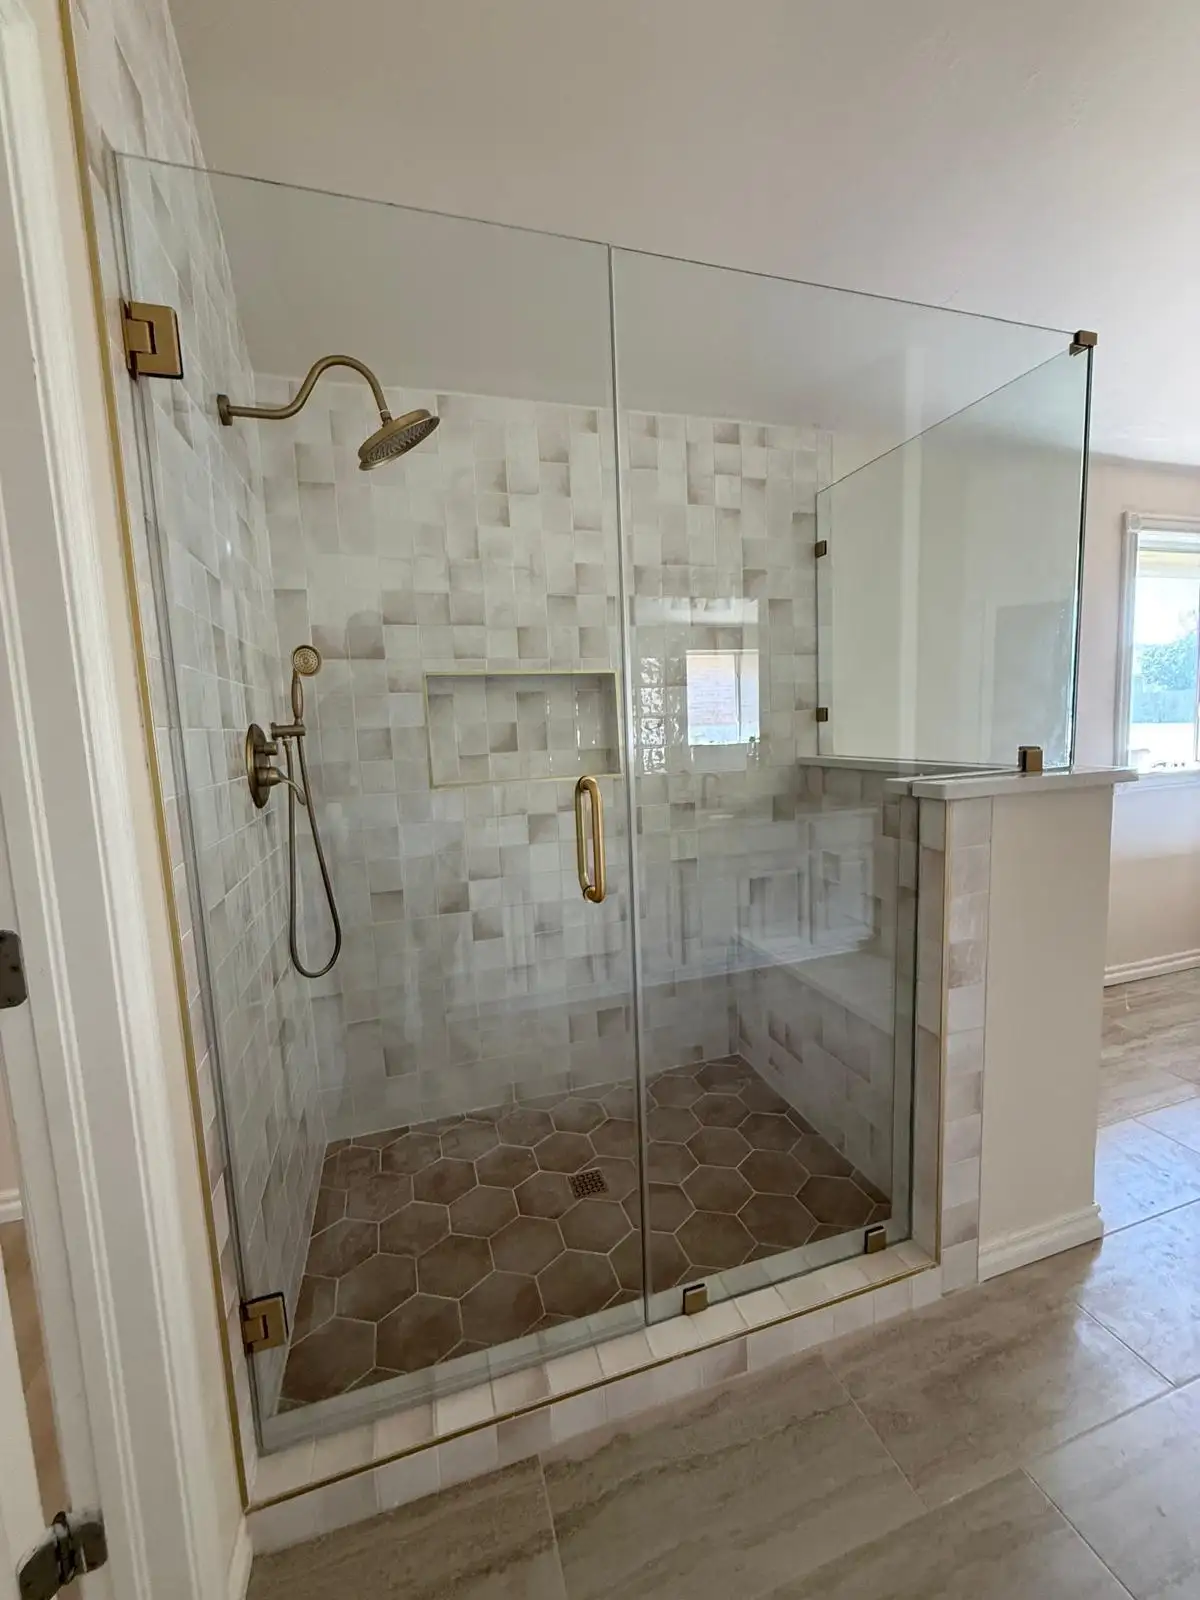
Schluter-KERDI waterproofing membrane is installed over the new substrate on all shower surfaces. Pre-formed corners, pipe seals, and curb covers create a continuous waterproof barrier that prevents moisture from ever reaching the substrate behind the tile. This is the step that was missing or inadequate in the original shower construction — and it is what prevents mold from returning.
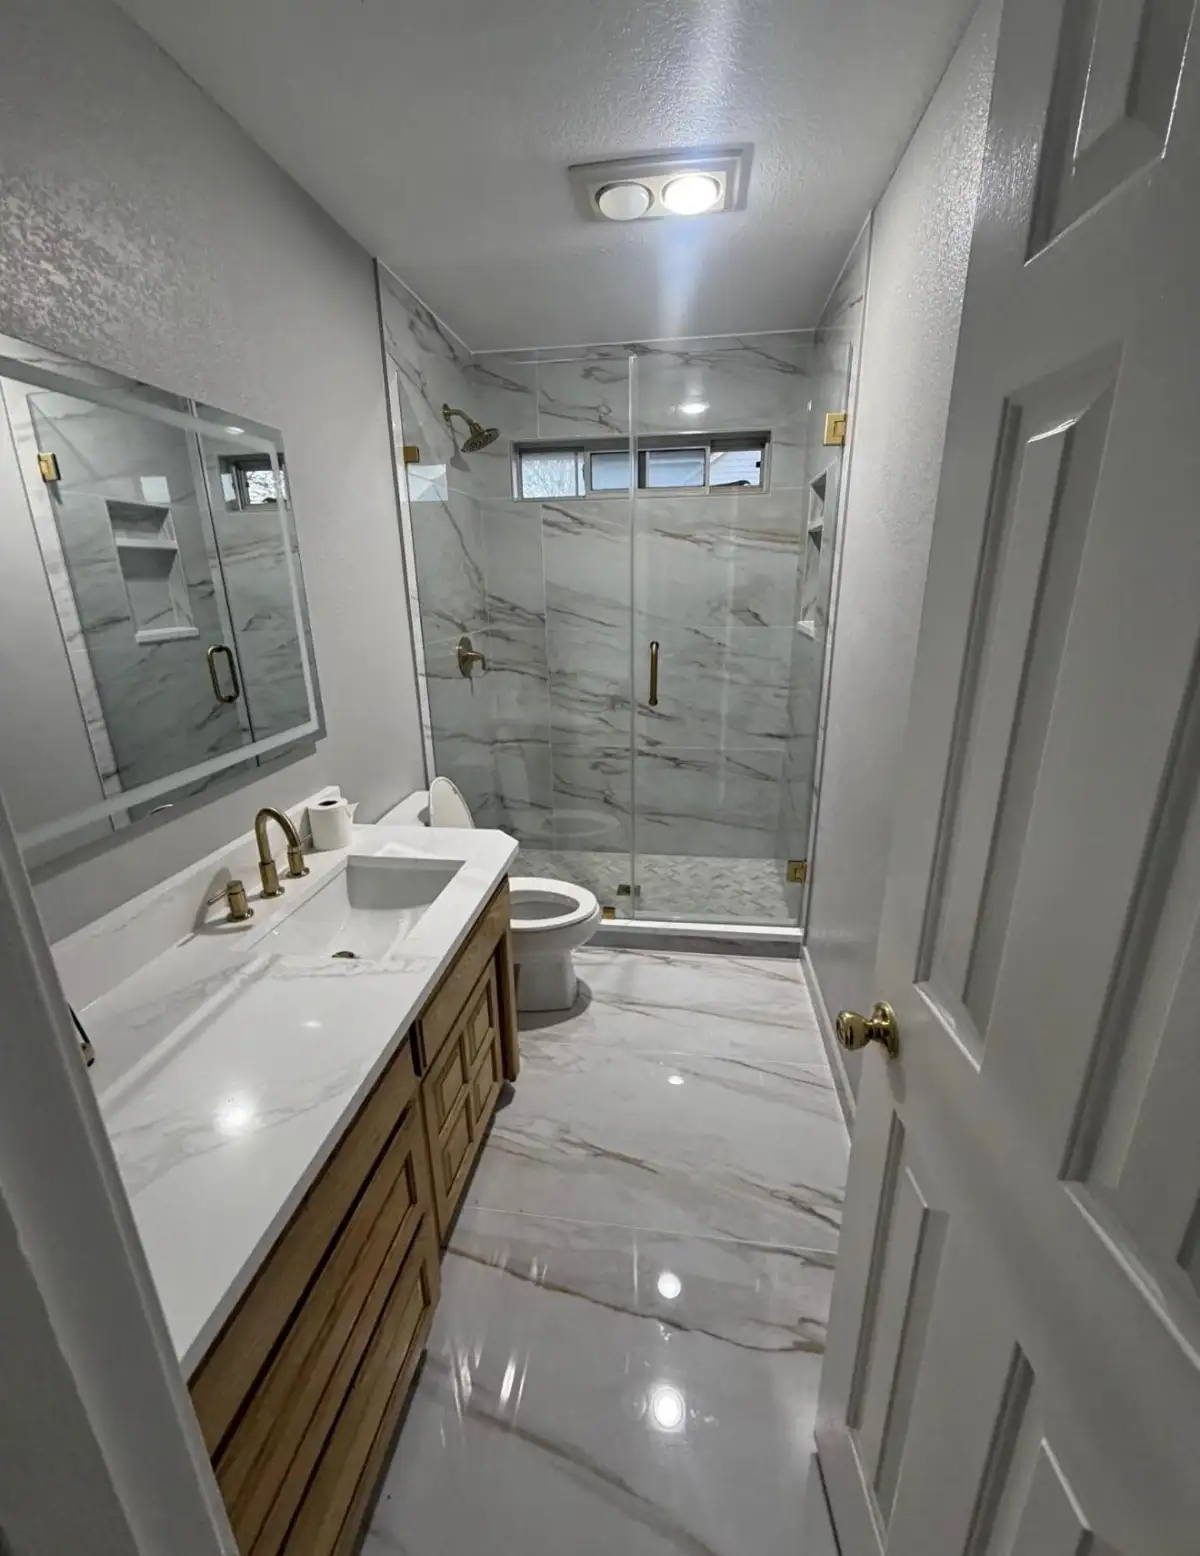
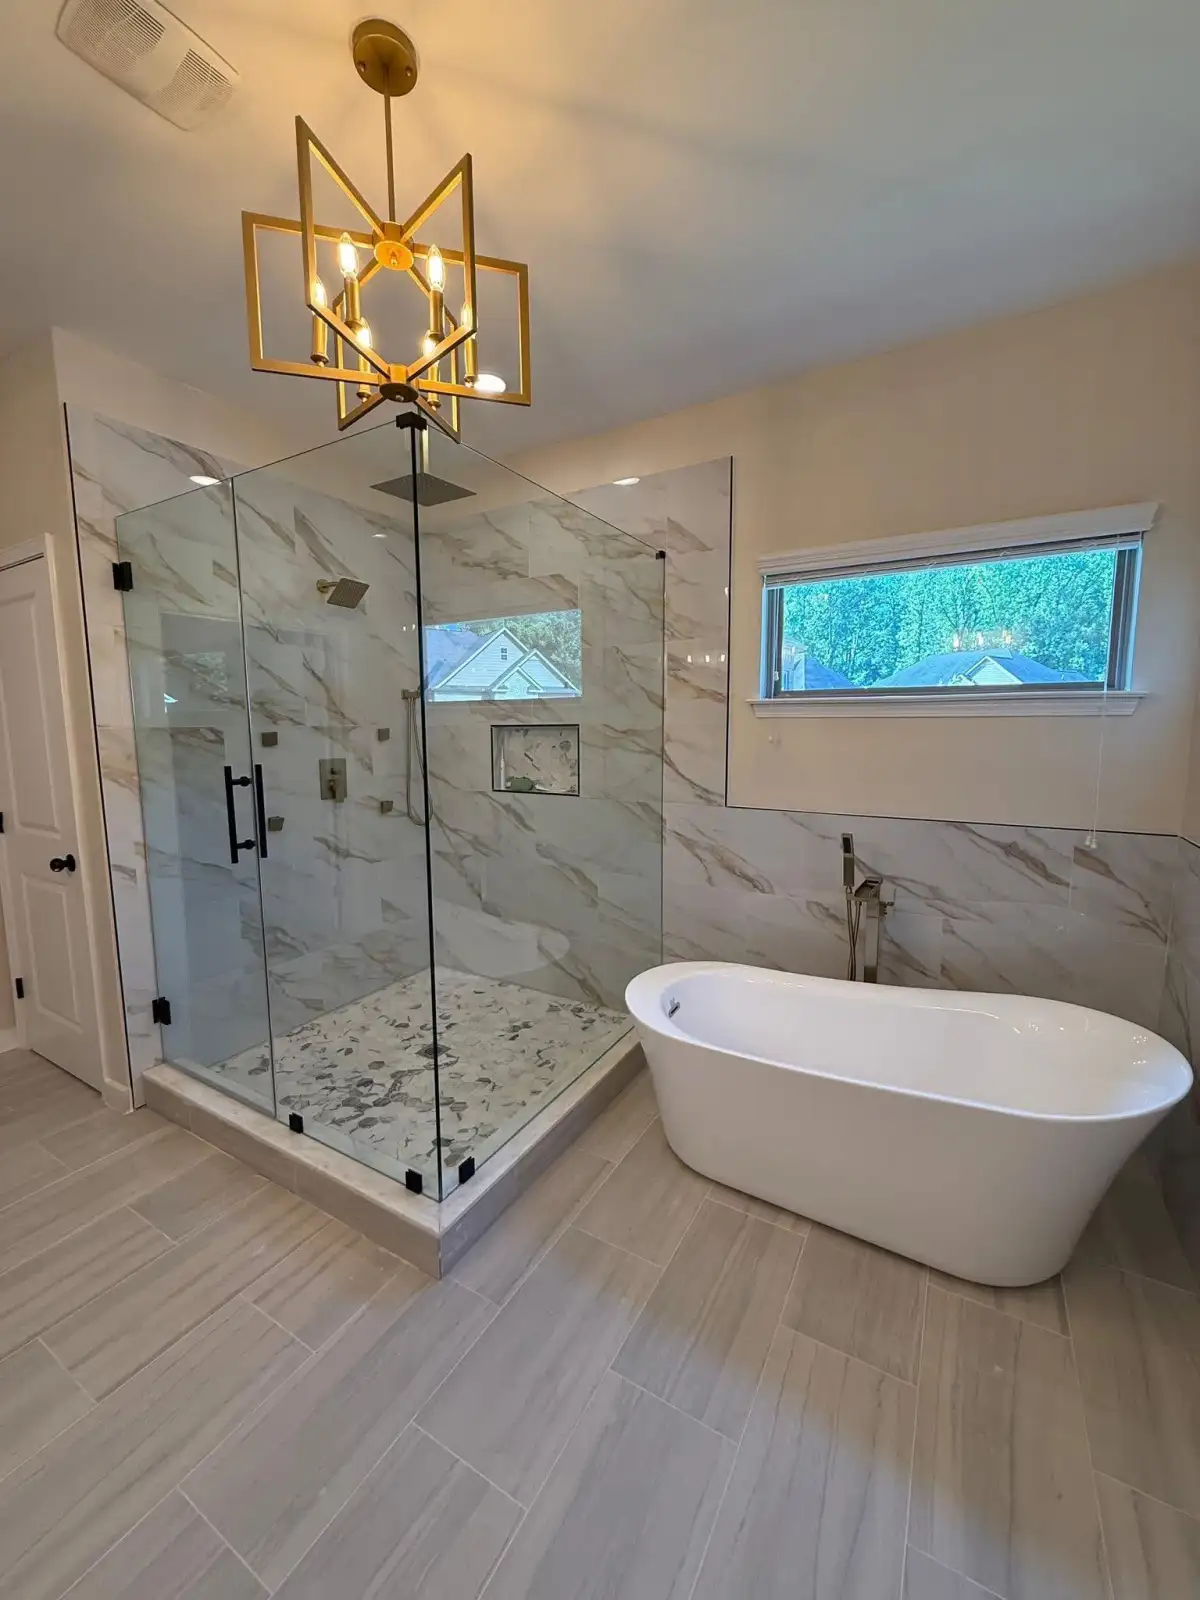
5. Tile & Finish
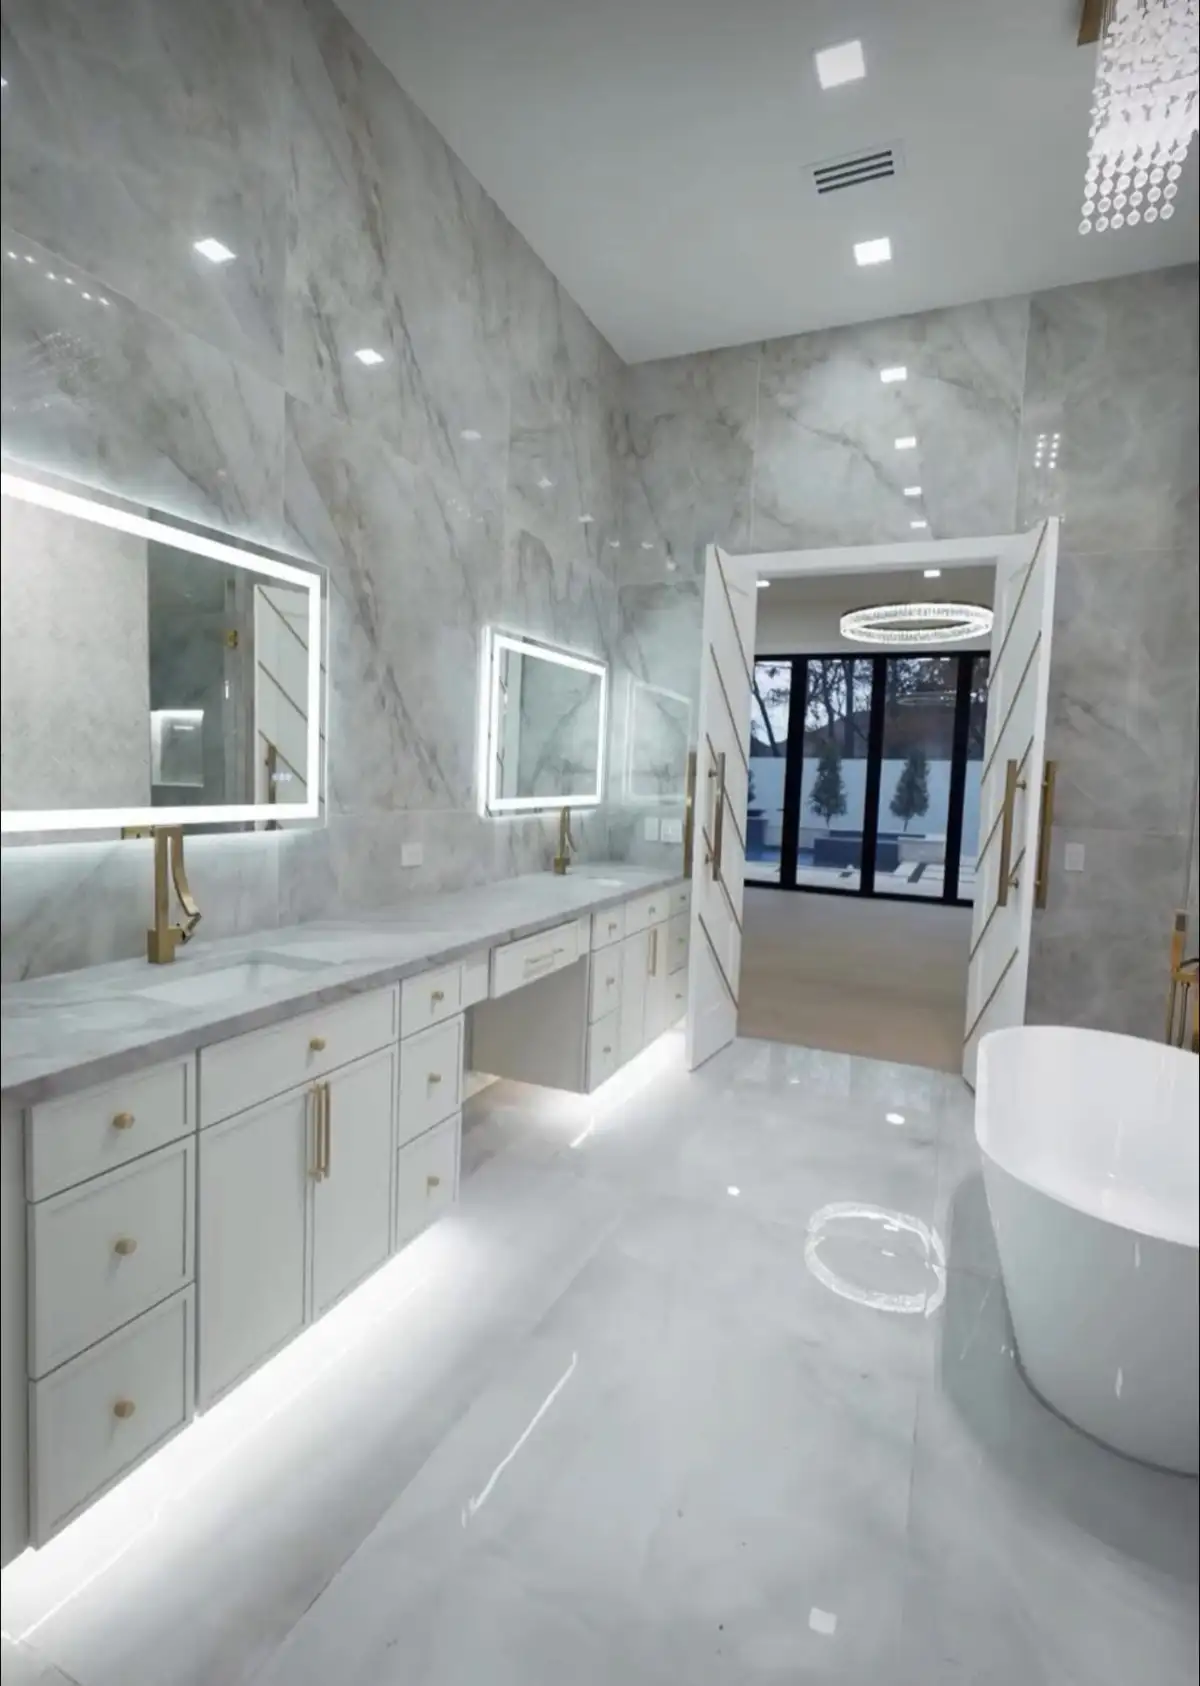
New tile is installed over the waterproofing membrane. We match existing tile when possible for partial wall repairs, or tile the entire shower for a complete, cohesive look. Grouting, sealing, fixture reinstallation, and silicone caulking at all joints complete the project. The finished shower is built to the same standard as our new construction work — properly waterproofed, expertly tiled, and built to last.
Why Shower Mold Is Common in DFW Homes
The Dallas-Fort Worth area has several factors that make shower mold problems more prevalent than in many other parts of the country.
High Summer Humidity
DFW summers regularly reach 70 to 80 percent outdoor humidity. This indoor moisture burden — combined with steam from daily shower use — creates ideal conditions for mold growth in any wall cavity where moisture can accumulate. Bathrooms without adequate ventilation (a common issue in older Fort Worth and Arlington homes) are particularly vulnerable because moisture lingers longer in the space and behind walls.
Builder-Grade Construction Practices
Many DFW homes built during the construction booms of the 1980s, 1990s, and 2000s used paper-faced drywall as the shower wall substrate with no waterproofing membrane behind the tile. This was a cost-saving measure that was common at the time but created millions of showers in Tarrant County and the DFW metroplex that are inherently prone to moisture infiltration and mold growth. If your home was built during this era and the shower has never been renovated, the risk of hidden mold is significant.
Inadequate Bathroom Ventilation
Many DFW bathrooms have undersized exhaust fans (or fans that vent into the attic rather than outside the building) that do not adequately remove moisture from the space after showering. The HVI recommends a minimum of 1 CFM per square foot of bathroom floor area, running for at least 20 minutes after showering. When the fan is inadequate, excess moisture in the bathroom air accelerates mold growth on exposed surfaces and behind walls where the waterproofing is compromised.
Soil Movement Effects
Seasonal soil movement caused by DFW's expansive clay soils can crack grout joints, separate caulk seals, and create new pathways for water to enter the wall cavity. A shower that was adequately sealed when built may develop cracks over time as the home shifts — cracks that allow water behind the tile where it feeds mold growth on the substrate. This is why homes in areas with active clay soils (Arlington, Fort Worth, Mansfield, Grand Prairie) see more shower mold issues than homes on more stable soil types.
More Shower & Bathroom Services
Shower Pan Repair
Fix leaking shower pans with complete tear-out, waterproofing rebuild, and new tile installation.
Shower Remodeling
Complete shower renovation including waterproofing, tile, glass, and fixtures.
Full Bathroom Remodeling
Complete bathroom renovations including plumbing, tile, vanity, fixtures, and all finishes.
Shower Mold Repair FAQ
If the mold is only on the surface of the grout or caulk, cleaning and re-caulking may be sufficient — for now. However, if mold is growing behind the tile (indicated by a musty smell, soft walls, loose tiles, or mold that returns quickly after cleaning), surface treatment will not solve the problem. The mold is being fed by moisture passing through the tile into the substrate. The only permanent solution is to remove the tile, remove the mold-affected substrate, and rebuild with proper waterproofing.
A typical shower mold repair and rebuild takes 6 to 10 days. This includes containment and demolition (1-2 days), mold treatment and drying (1-2 days), substrate replacement and waterproofing (2-3 days including cure time), and tile installation and finishing (2-3 days). If the mold has spread beyond the shower into the bathroom walls or ceiling, additional repair time may be needed depending on the extent of the damage.
Not when the repair is done correctly. Mold requires moisture to grow. Our repair process eliminates the moisture pathway by replacing the organic substrate (paper-faced drywall) with inorganic materials (cement board) and installing a continuous Schluter-KERDI waterproofing membrane that prevents water from reaching the substrate. With the moisture pathway eliminated and the organic food source removed, the conditions that supported mold growth no longer exist. Adequate bathroom ventilation (running the exhaust fan during and 20 minutes after showering) further reduces moisture and mold risk.
For shower mold repair, professional mold testing is typically not required. Once we remove the tile and substrate, the extent of the mold is visible and we address all affected areas. Professional mold testing (air quality testing, spore analysis) is more relevant when mold contamination is widespread throughout the home or when there is a dispute about whether mold is present. For a localized shower mold issue, the repair process itself reveals and addresses the full scope of the problem.
Shower Mold Repair Across the DFW Metroplex
Based in Arlington, we provide shower mold repair and wall rebuild services throughout the western DFW corridor.
Suspect Mold Behind Your Shower Walls?
Do not wait for it to spread. Schedule a free assessment — we will evaluate the situation, explain what needs to happen, and provide an honest estimate for the repair.