
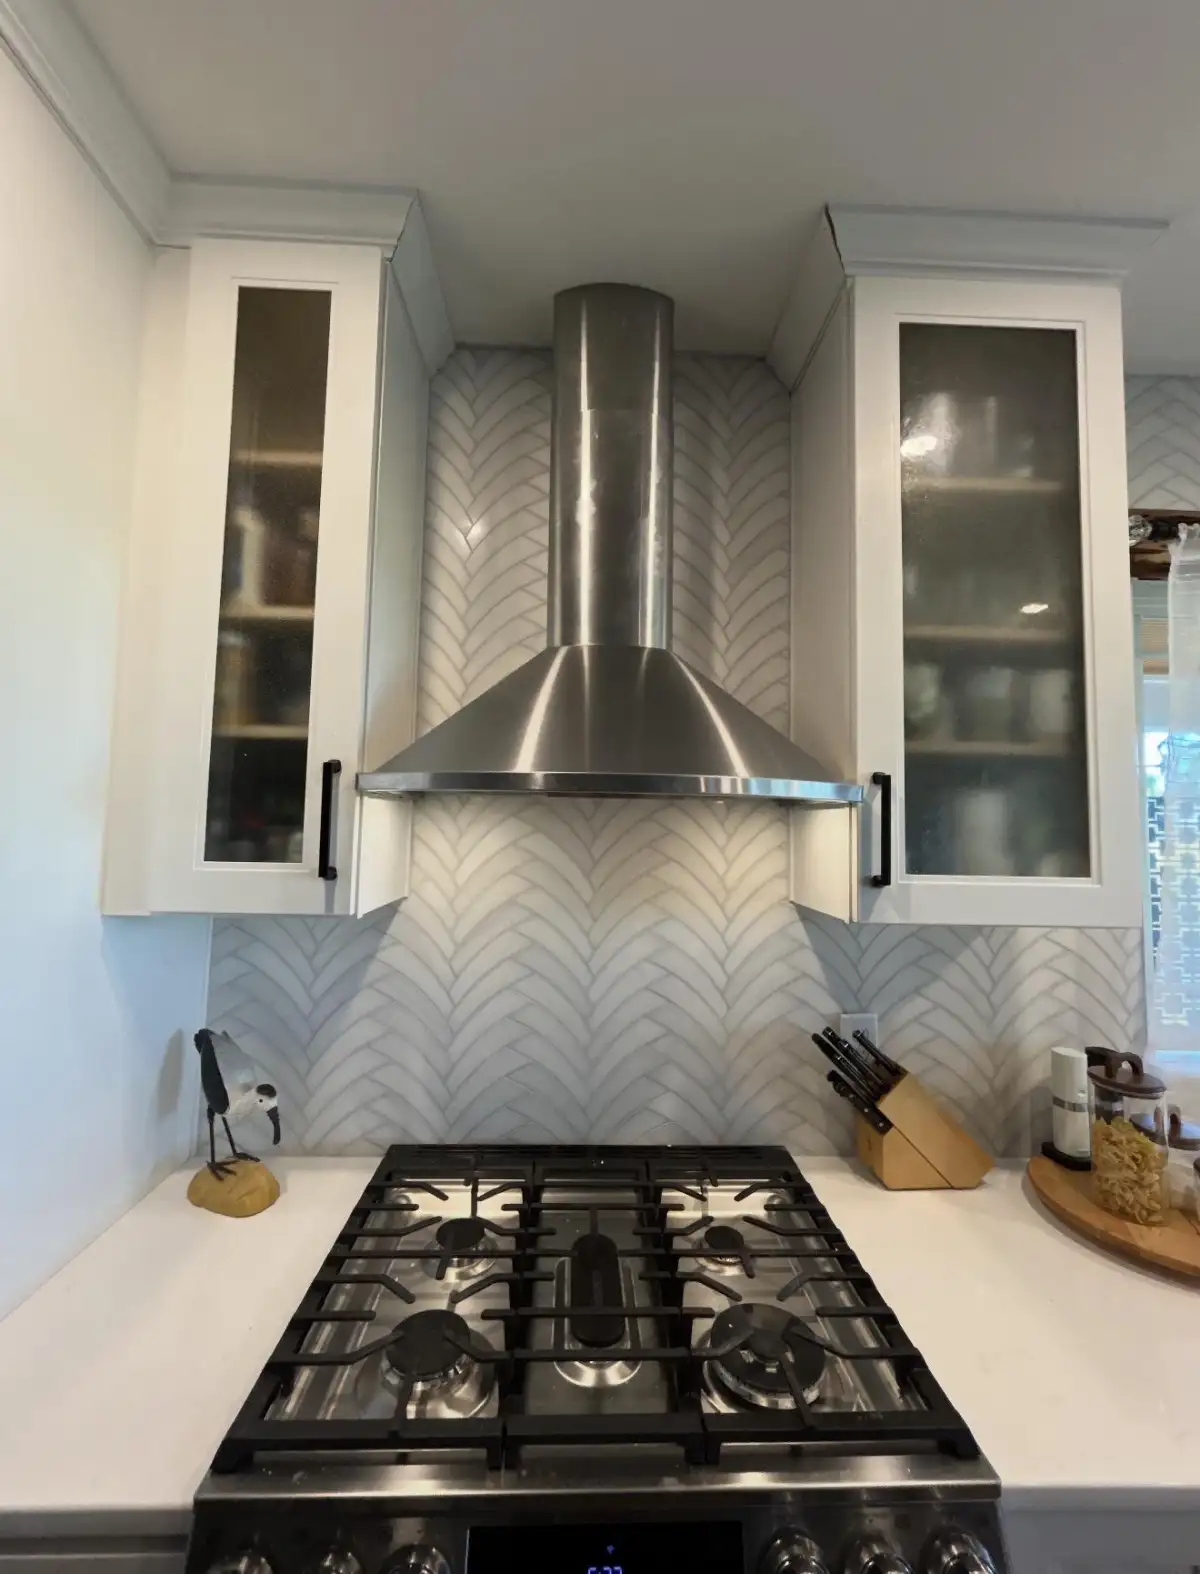
Backsplash Tile Installation for DFW Homes
Clean lines, precise cuts around outlets, and consistent grout joints. Kitchen and bathroom backsplash tile installed by professionals who do tile work every day.
Backsplash Cost Factors for Wet and Dry Walls
Backsplash installation costs depend on the tile material, linear footage, layout complexity, and how many cuts are required around outlets, switches, and windows. A standard kitchen backsplash using subway tile covers approximately 25 to 40 square feet. For an accurate number tailored to your space, we recommend requesting a free estimate.
The biggest cost variable is the tile itself. Ceramic subway tile is the most affordable option. Glass mosaic, natural stone, and handmade tile (zellige, cement, encaustic) cost significantly more per square foot. Labor costs are driven by the number of precision cuts — outlets, switches, window frames, inside corners, and edge treatments all require careful measurement and cutting.
At Water & Stone, backsplash installation is an extension of the same tile work we perform in showers and bathrooms every week. The precision, tools, and standards are identical — whether we are setting tile behind a kitchen range or inside a walk-in shower.
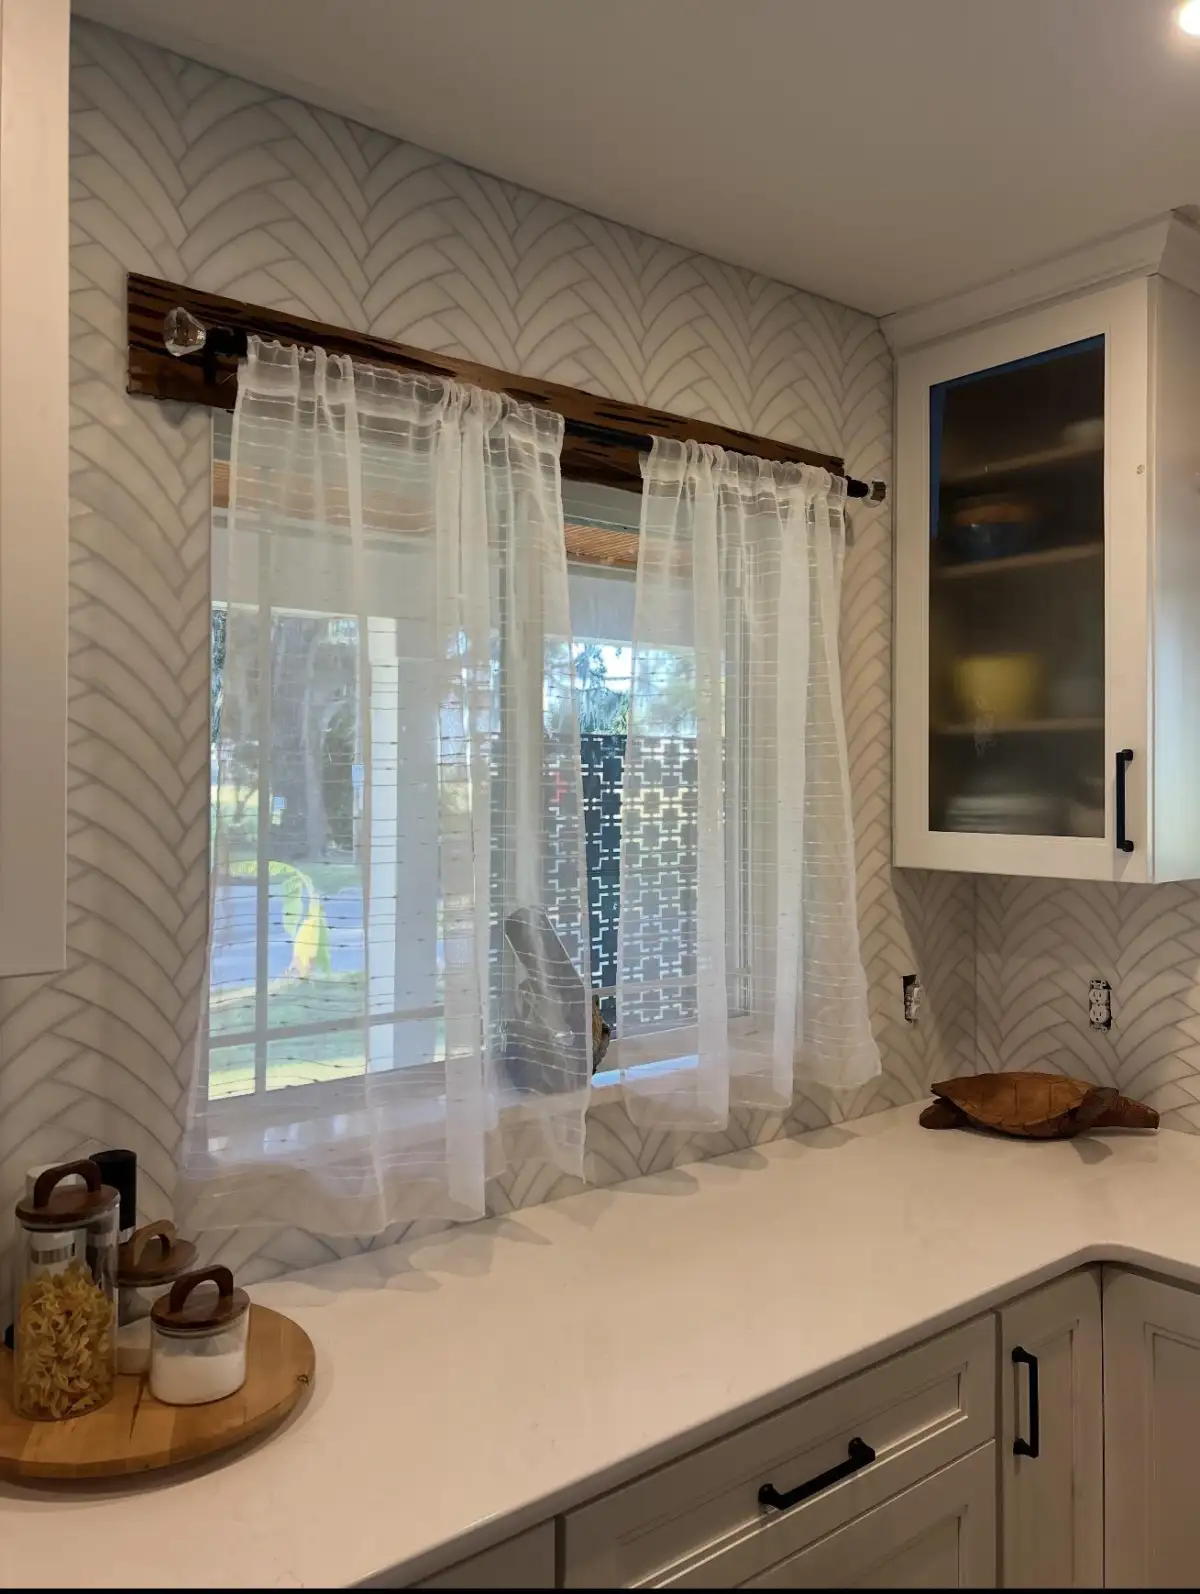
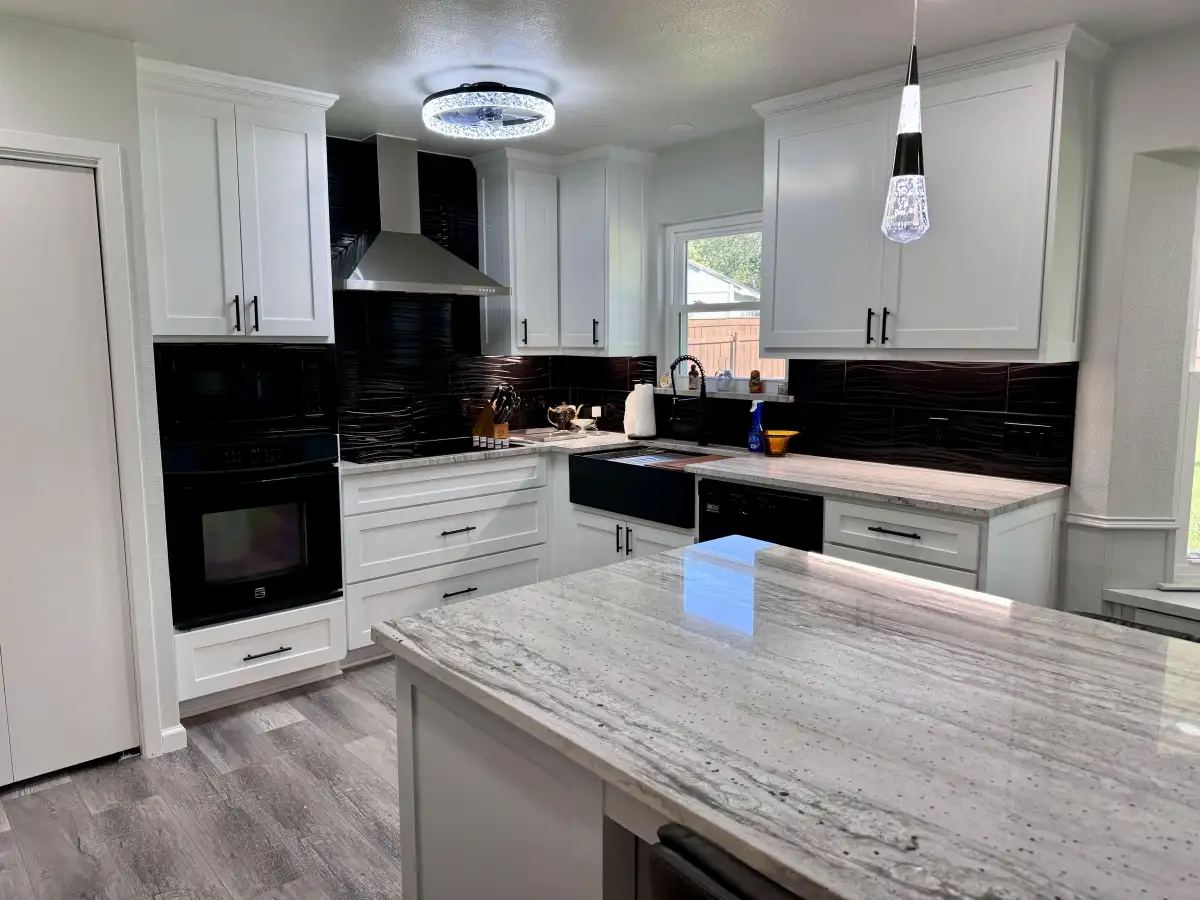
Popular Backsplash Tile Materials
We install every type of backsplash tile. Each material offers different aesthetics, maintenance requirements, and price points.
Subway Tile
The classic 3x6 format and modern 4x12 or 4x16 versions remain popular because they are clean, flexible, and easy to maintain. Subway tile works in running bond, stacked vertical, herringbone, and basket-weave patterns, giving Fort Worth and Arlington kitchens a finished look without overwhelming the room.
Glass Mosaic
Glass mosaic adds color, reflectivity, and depth. Mesh-backed sheets speed installation, but the material still needs white thinset, careful alignment, and controlled grouting to prevent scratches or color distortion behind the tile.
Natural Stone
Marble, travertine, and slate bring authentic texture and variation. They also need proper sealing to resist staining from cooking oils, water, and daily splatter, especially behind ranges and around sinks.
Large-Format Porcelain
Large porcelain tile and slab-look materials create a minimal backdrop with fewer grout lines. The wall must be flat, outlets must be cut precisely, and the layout has to account for visible edges before installation begins.
Handmade Tile
Zellige, cement, and encaustic tiles offer handmade character with intentional variation in color, texture, and thickness. That variation is part of the look, but it requires careful spacing and grout planning so the finished wall feels crafted instead of uneven.
Durable Tile Instead of Peel-and-Stick
We install real tile backsplashes rather than peel-and-stick products. A properly set ceramic or porcelain backsplash is a better long-term choice near cooktops, sinks, and wet walls because it resists heat, moisture, staining, and peeling.
Kitchen vs. Bathroom Backsplash Installation
While the tile-setting process is similar, kitchen and bathroom backsplashes face different conditions and require different planning.
Kitchen Backsplash
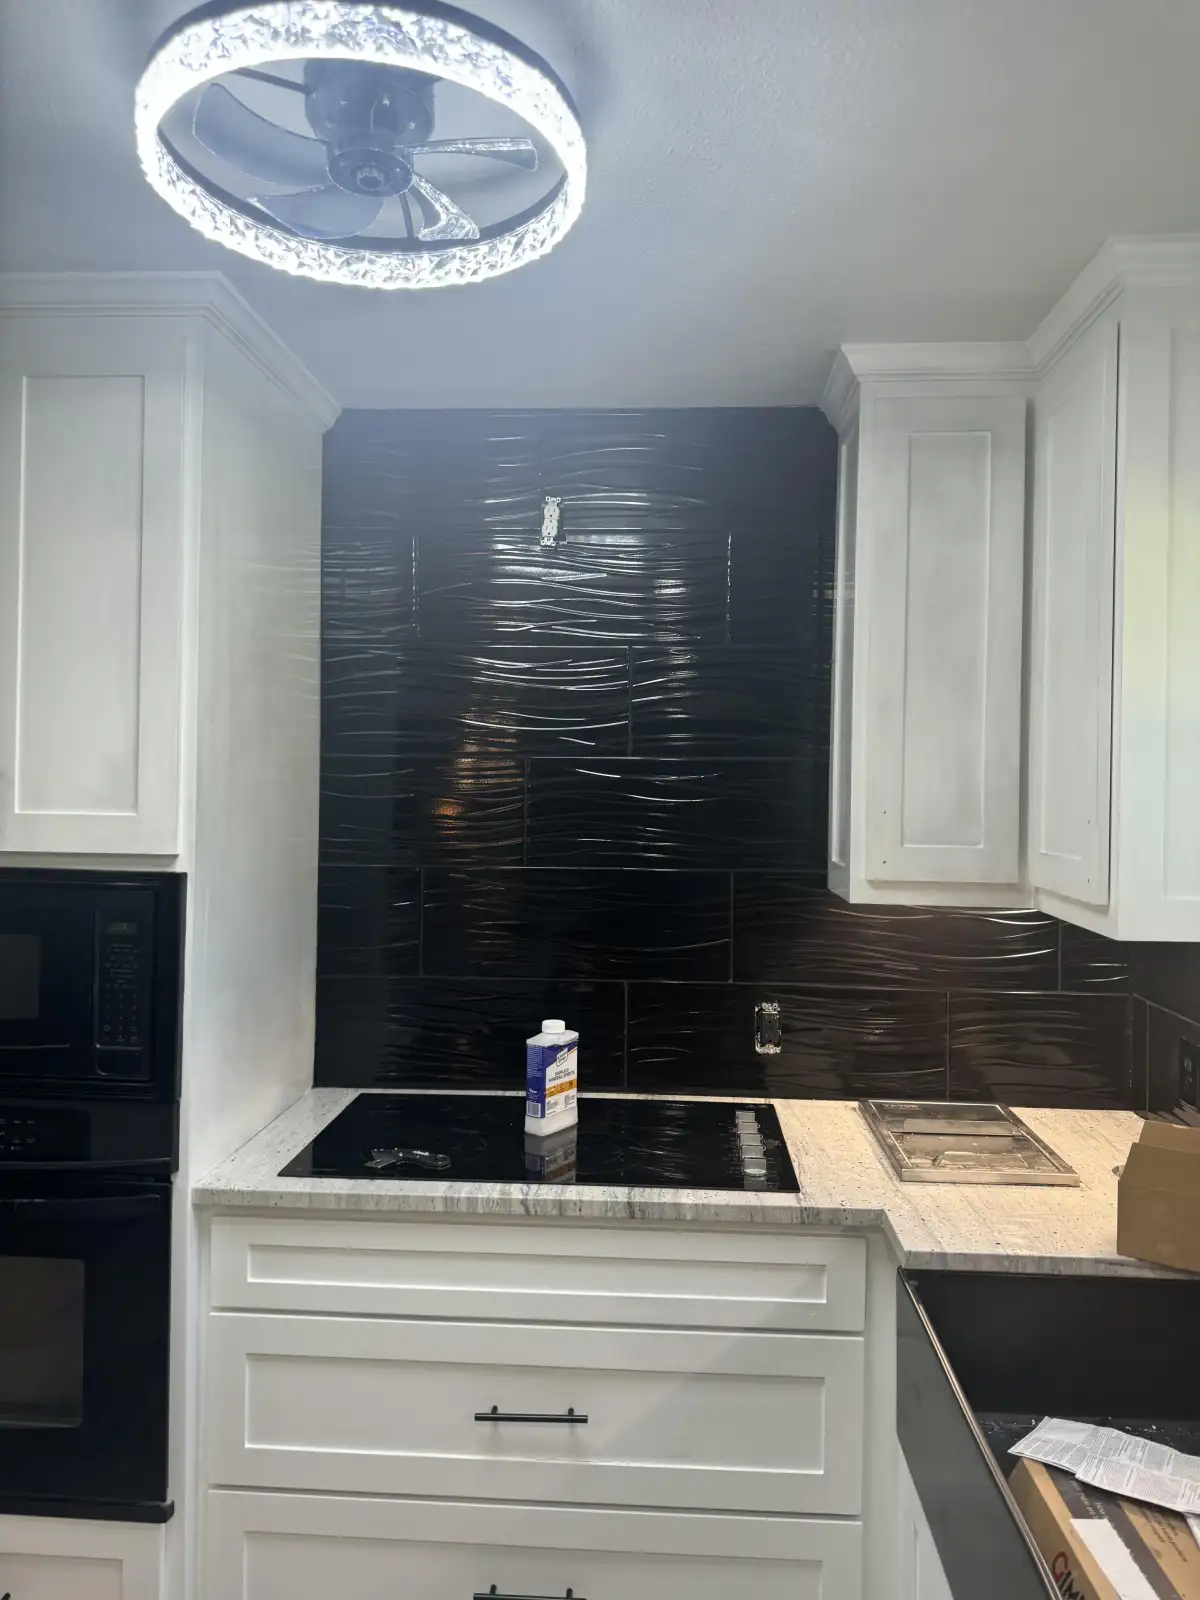
Kitchen backsplashes are exposed to cooking grease, food splatter, steam, and heat from the cooktop. The area behind a gas or electric range sees the most abuse. We recommend non-porous tile materials (porcelain, ceramic, or glass) behind cooking areas because they are easier to clean and resist staining. Natural stone can be used but must be sealed thoroughly. Kitchen backsplash layouts require precise cuts around outlets (typically GFCI outlets that sit proud of the wall surface), switches, under-cabinet lighting conduit, and window casings.
Bathroom Backsplash
Bathroom backsplashes — typically behind the vanity between the countertop and mirror — face moisture from sink use and occasional water splatter. The primary concerns are clean sealing where the tile meets the countertop and proper cuts around mirror mounts and light fixtures. Bathroom backsplashes are usually smaller in scope than kitchen installations but are highly visible at close range, making grout consistency and tile alignment especially important. A backsplash behind the vanity is often included as part of a vanity installation project.
Full-Height vs. Standard
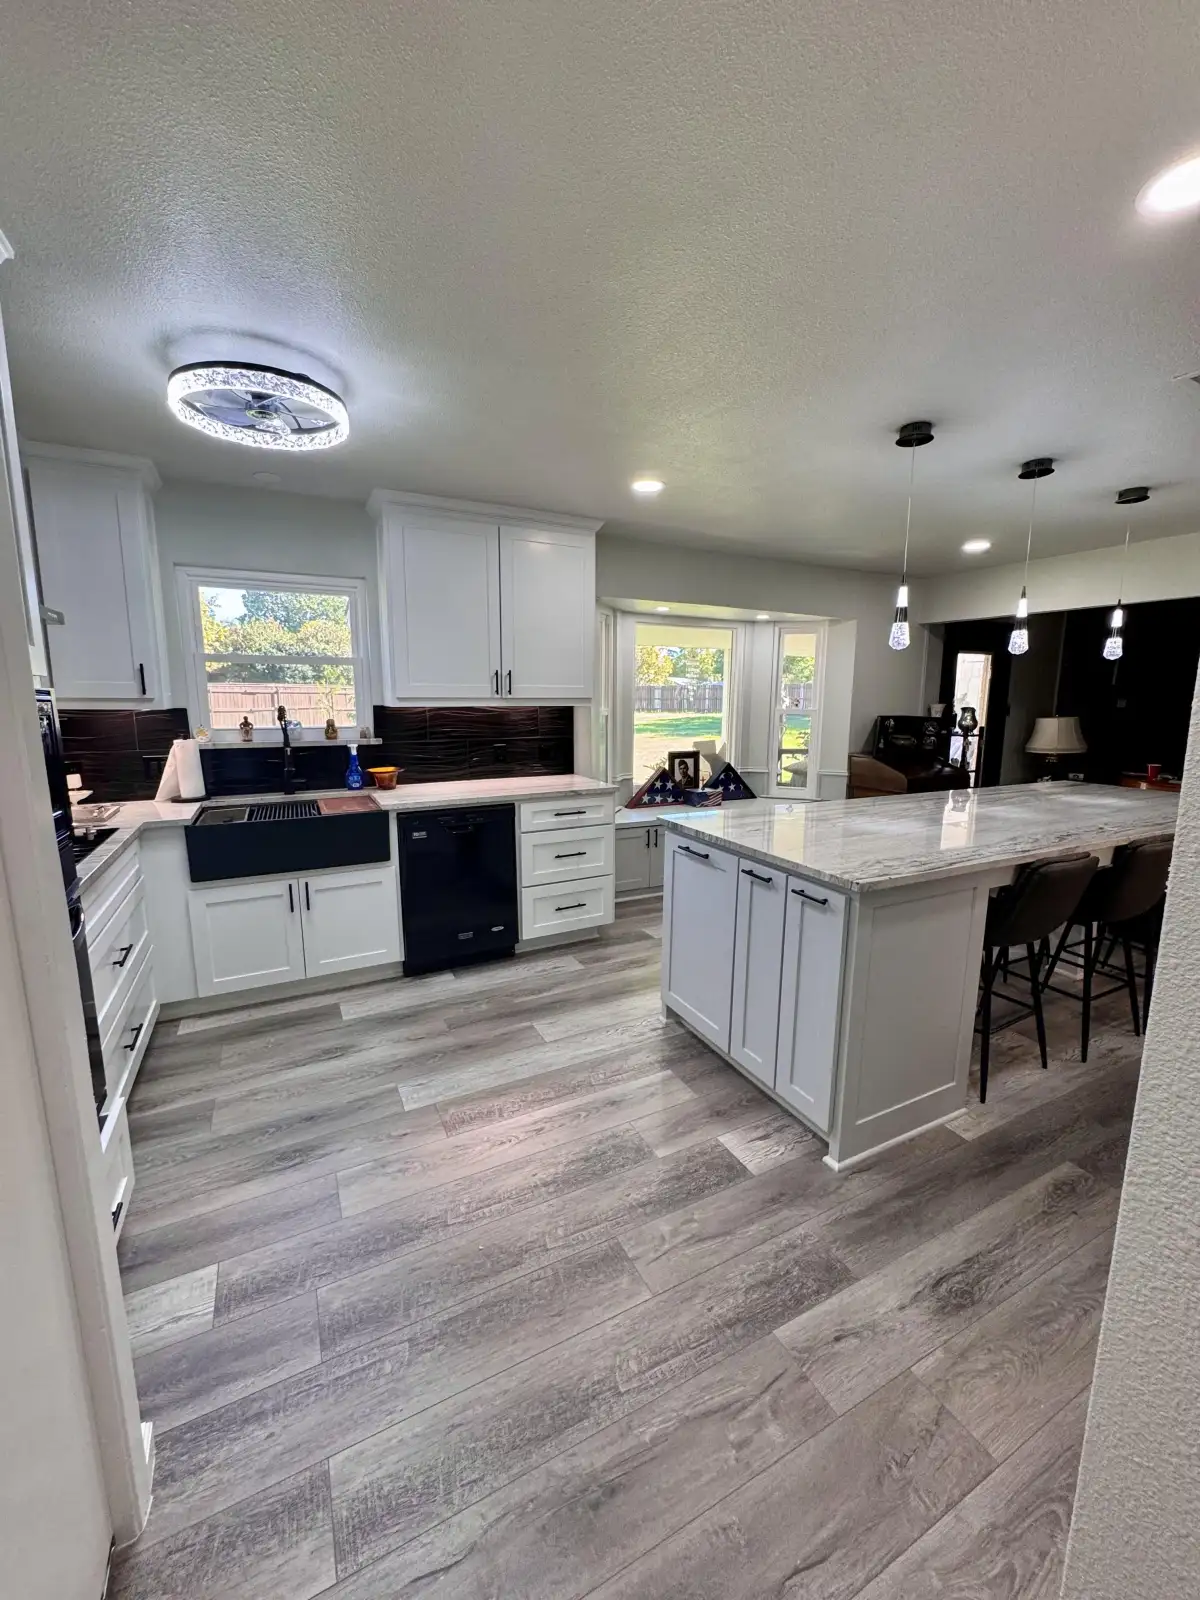
Standard backsplashes extend 18 to 20 inches above the countertop (from countertop to the bottom of upper cabinets). Full-height backsplash installations run from the countertop all the way to the ceiling, creating a dramatic design statement. Full-height installations require more material and labor but eliminate the visual break at the top of a standard backsplash and make the kitchen feel taller and more finished.
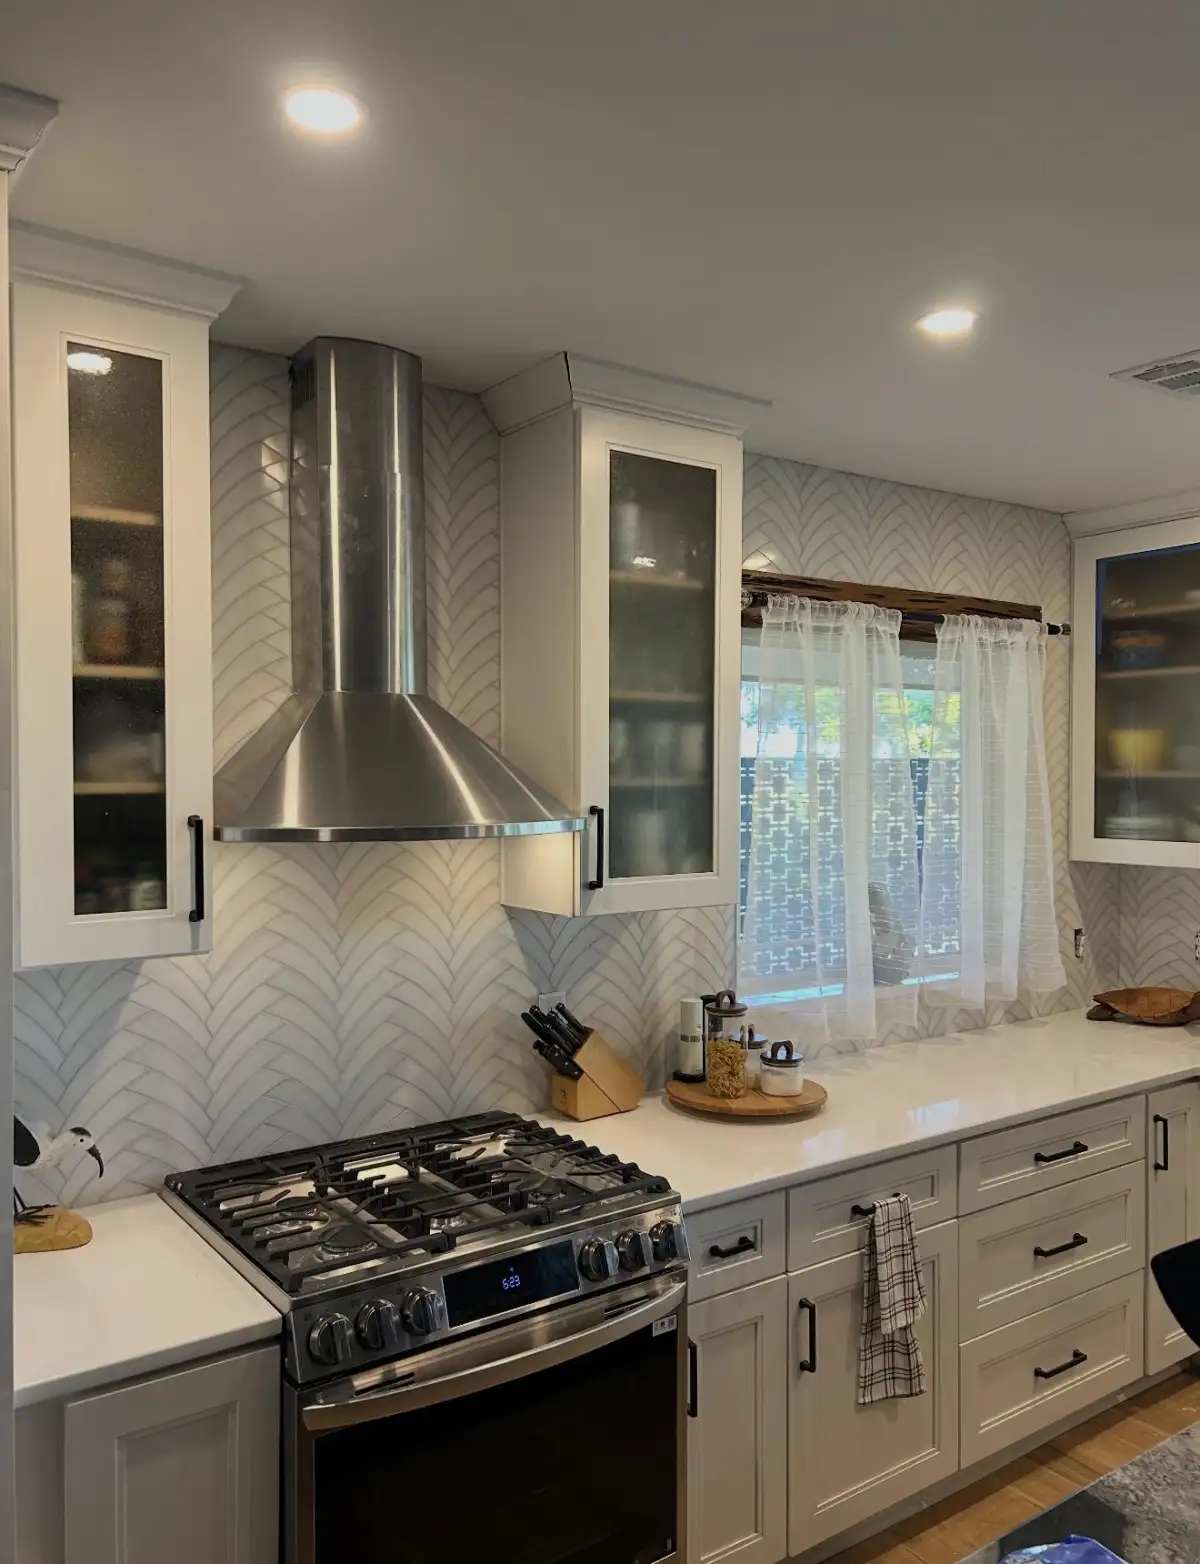
Clean Lines Around Outlets, Corners, and Counters
A backsplash is one of the most visible surfaces in a kitchen or bathroom. It is at eye level, well-lit, and examined up close every day. This makes installation quality impossible to hide.
Precision Outlet Cuts
Every kitchen backsplash involves cutting tile around electrical outlets, switches, and sometimes under-cabinet lighting conduit. These cuts must be tight — gaps larger than 1/8 inch around outlet covers look sloppy and cannot be hidden. We use diamond-blade wet saws and oscillating multi-tools to achieve clean, precise cuts on every outlet and switch box. The outlet cover plate should sit flat against the tile surface with a consistent reveal all around.
Pattern Alignment
Herringbone, chevron, and diagonal patterns require careful layout planning before the first tile is set. The pattern must be centered on the focal point (usually the range hood or window), and partial tiles at the edges should be balanced — a full tile on one side and a sliver on the other is a sign of poor planning. We dry-lay patterns on a flat surface to verify alignment before setting any tile on the wall.
Edge Finishing
Exposed tile edges (where the backsplash ends at a wall corner, window frame, or open wall) need proper finishing. Options include Schluter metal edge trim, polished bullnose tile, mitered edges, or clean caulk lines. The finishing method should complement the tile material and the overall design. Leaving raw cut edges exposed is never acceptable — it looks unfinished and creates a rough surface that collects grime.
Grout Consistency
Backsplash grout lines are examined at close range in good lighting. Inconsistent joint widths, uneven grout fill, and color variation from improper mixing are immediately visible. We use tile spacers to maintain exact joint widths and mix grout in controlled batches to ensure consistent color across the entire installation.
Wall Tile Work That Finishes the Room
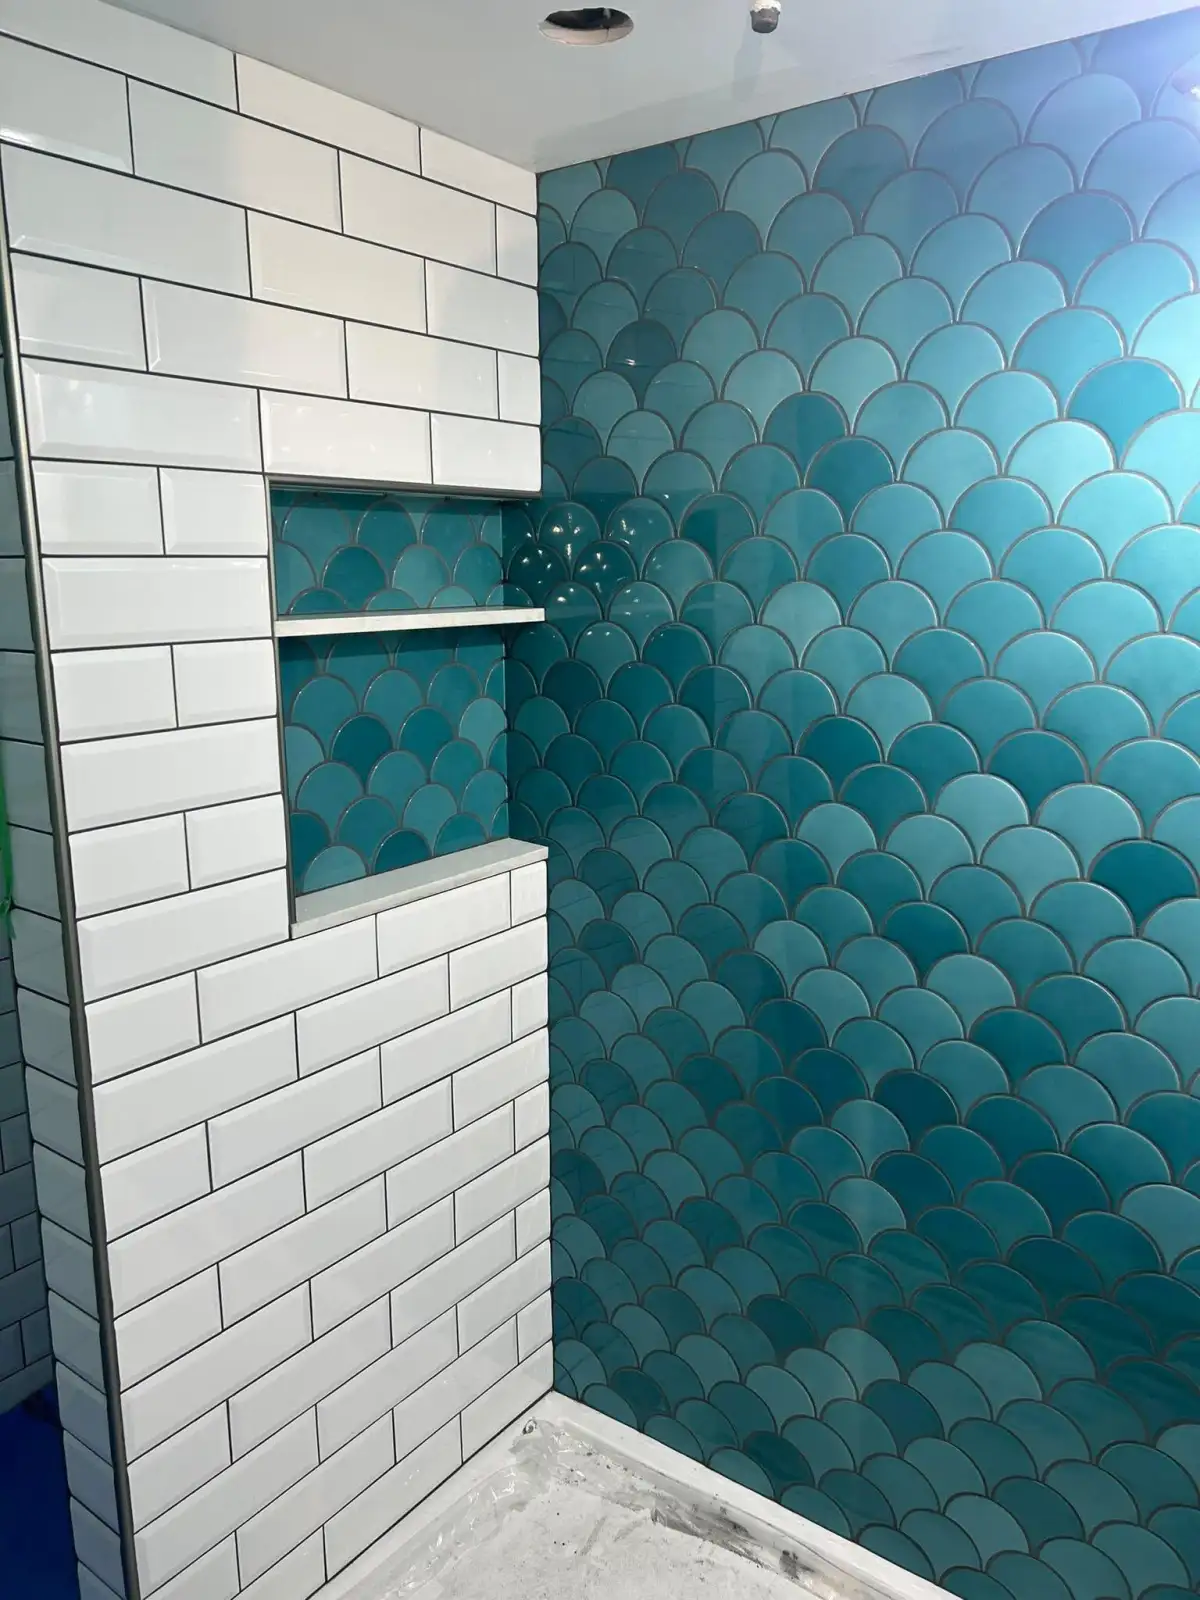
Shower, floor, accent wall, and backsplash tile set with clean layout.
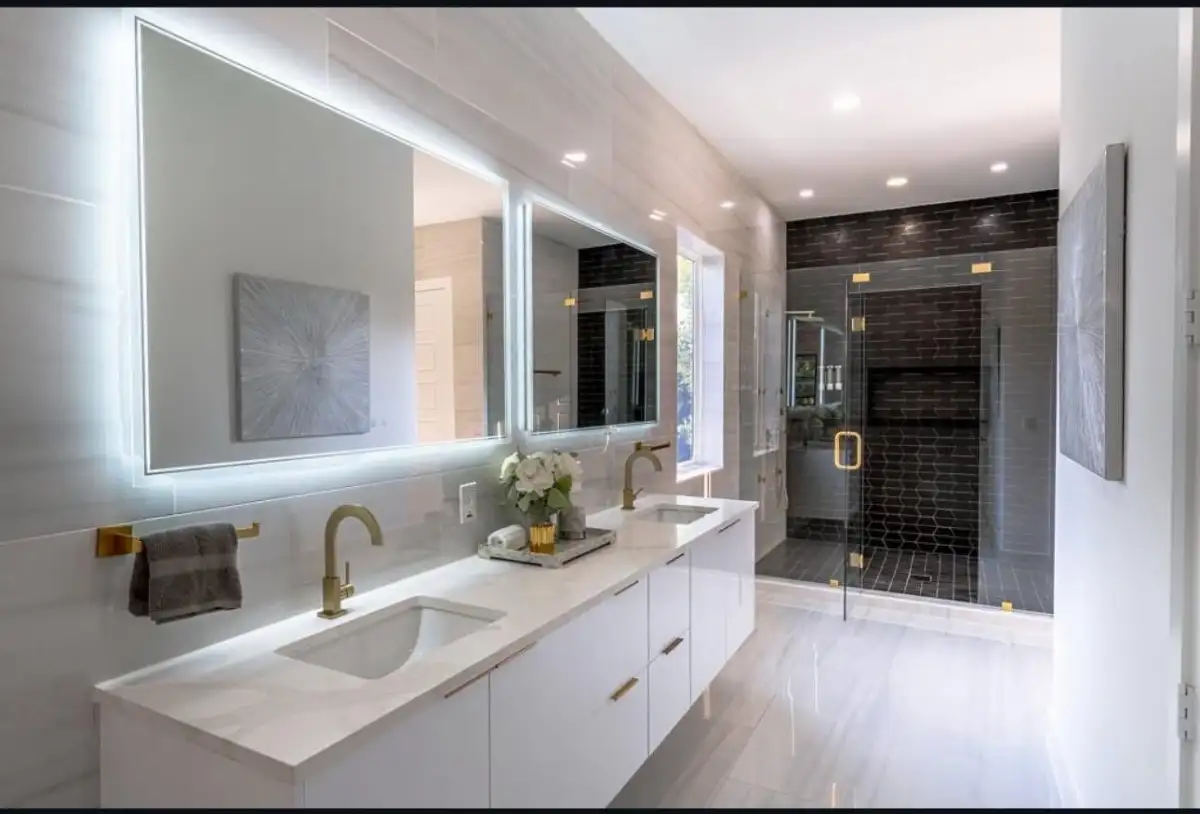
Single, double, and floating vanities with counters and plumbing trim.
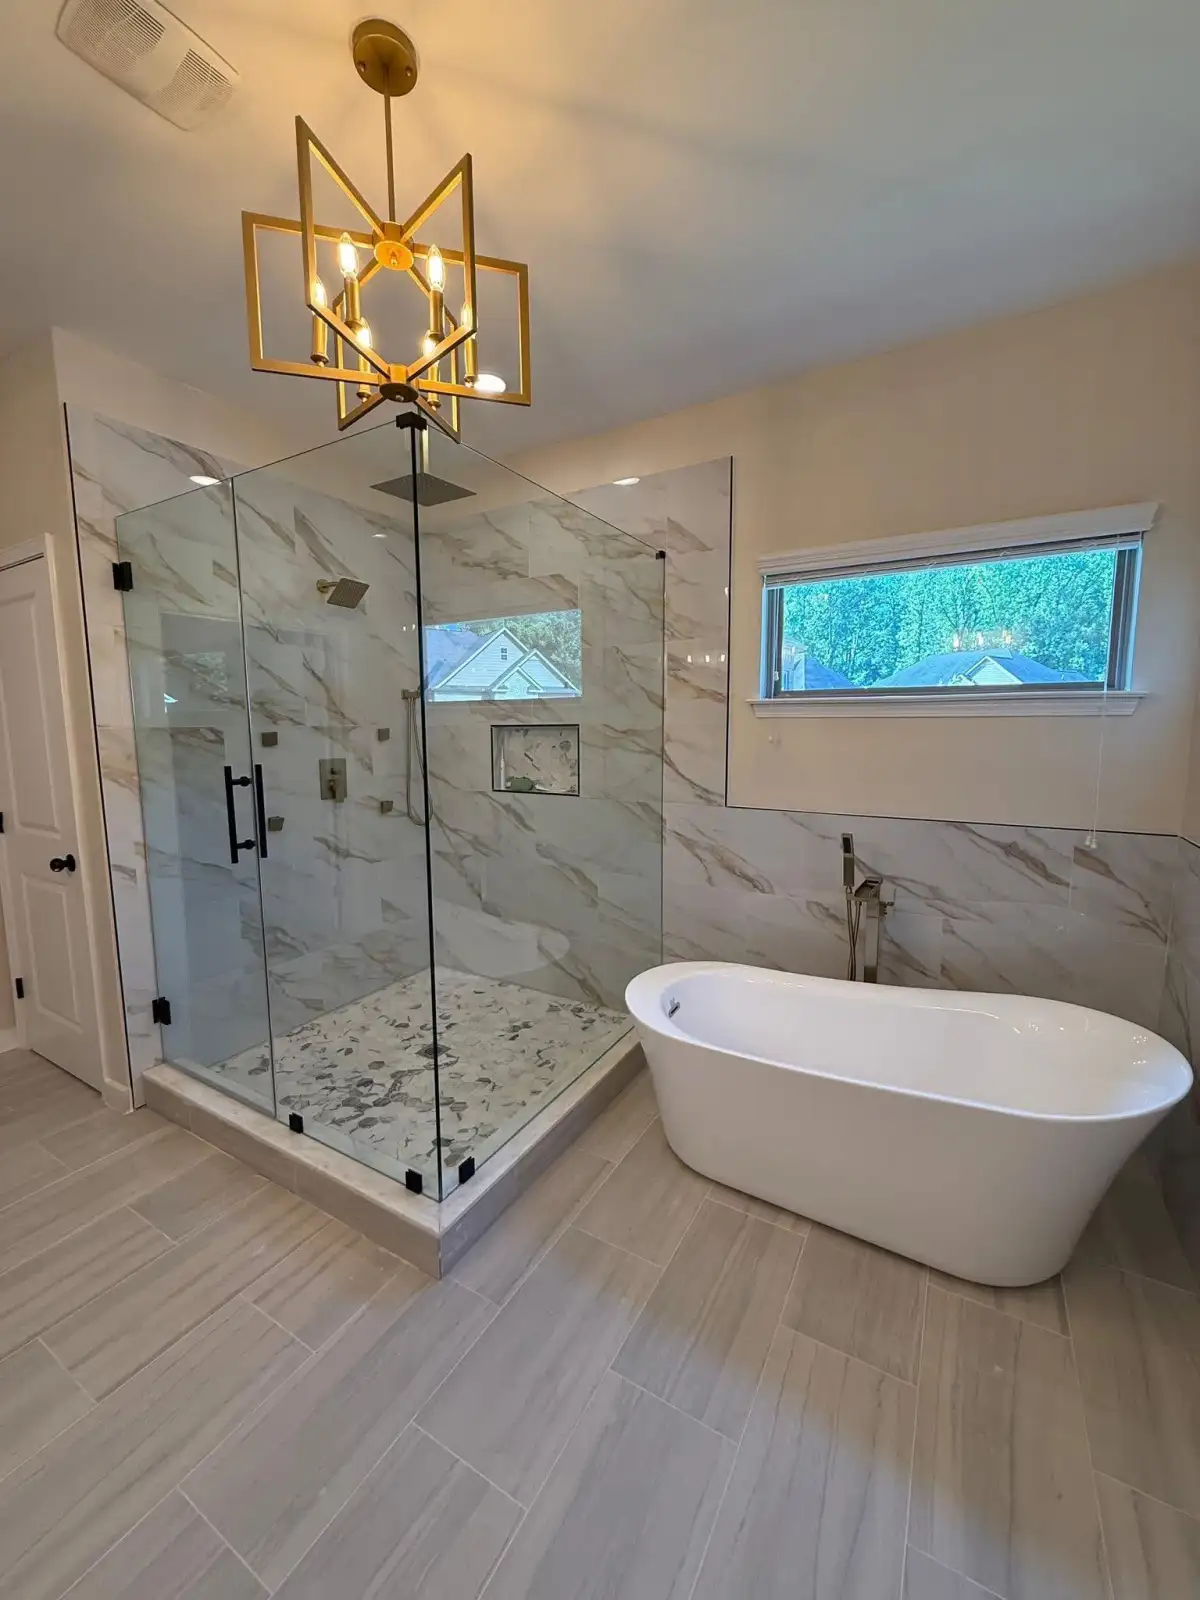
Full bath updates that coordinate tile, fixtures, lighting, and finish details.
Backsplash Installation FAQ
A standard kitchen backsplash (25 to 40 square feet) takes 1 to 2 days. Day one covers surface preparation, layout, and tile setting. Day two handles grouting, cleanup, and sealing. Larger installations, complex patterns (herringbone, chevron), or full-height designs may add an additional day. Bathroom backsplashes are typically smaller and can be completed in a single day.
Yes, we remove the old backsplash as part of the installation process. Removing old tile, adhesive residue, or laminate backsplash panels allows us to inspect the wall surface, repair any damage, and ensure a flat, clean substrate for the new tile. The cost of removal and disposal is included in our estimates.
Absolutely. Open-concept kitchens without upper cabinets are increasingly popular in DFW homes. In these configurations, the backsplash can extend to the ceiling, to a shelf, or to a specific height that defines the cooking zone. We use Schluter metal edge trim or bullnose tile to create a clean, finished top edge. Full-height backsplash installations in open-concept kitchens create a dramatic focal point that replaces the visual anchor traditionally provided by upper cabinets.
Porcelain and ceramic tile themselves do not need sealing — they are already non-porous. However, grout should always be sealed to prevent staining from cooking oils, food splatter, and moisture. Natural stone backsplash tile (marble, travertine) must be sealed on both the tile surface and grout to prevent absorption of oils and liquids. We apply a penetrating sealer on every backsplash installation as part of the standard process.
Backsplash Installation Around Fort Worth and Arlington
We install backsplashes from our Arlington base across Fort Worth, Southlake, Flower Mound, Grand Prairie, Mansfield, Cedar Hill, Azle, White Settlement, and nearby western DFW neighborhoods.
Bring the Wall Finish Up to the Cabinetry
Schedule a free estimate. Bring your tile selection or let us help you choose the perfect material for your kitchen or bathroom.