
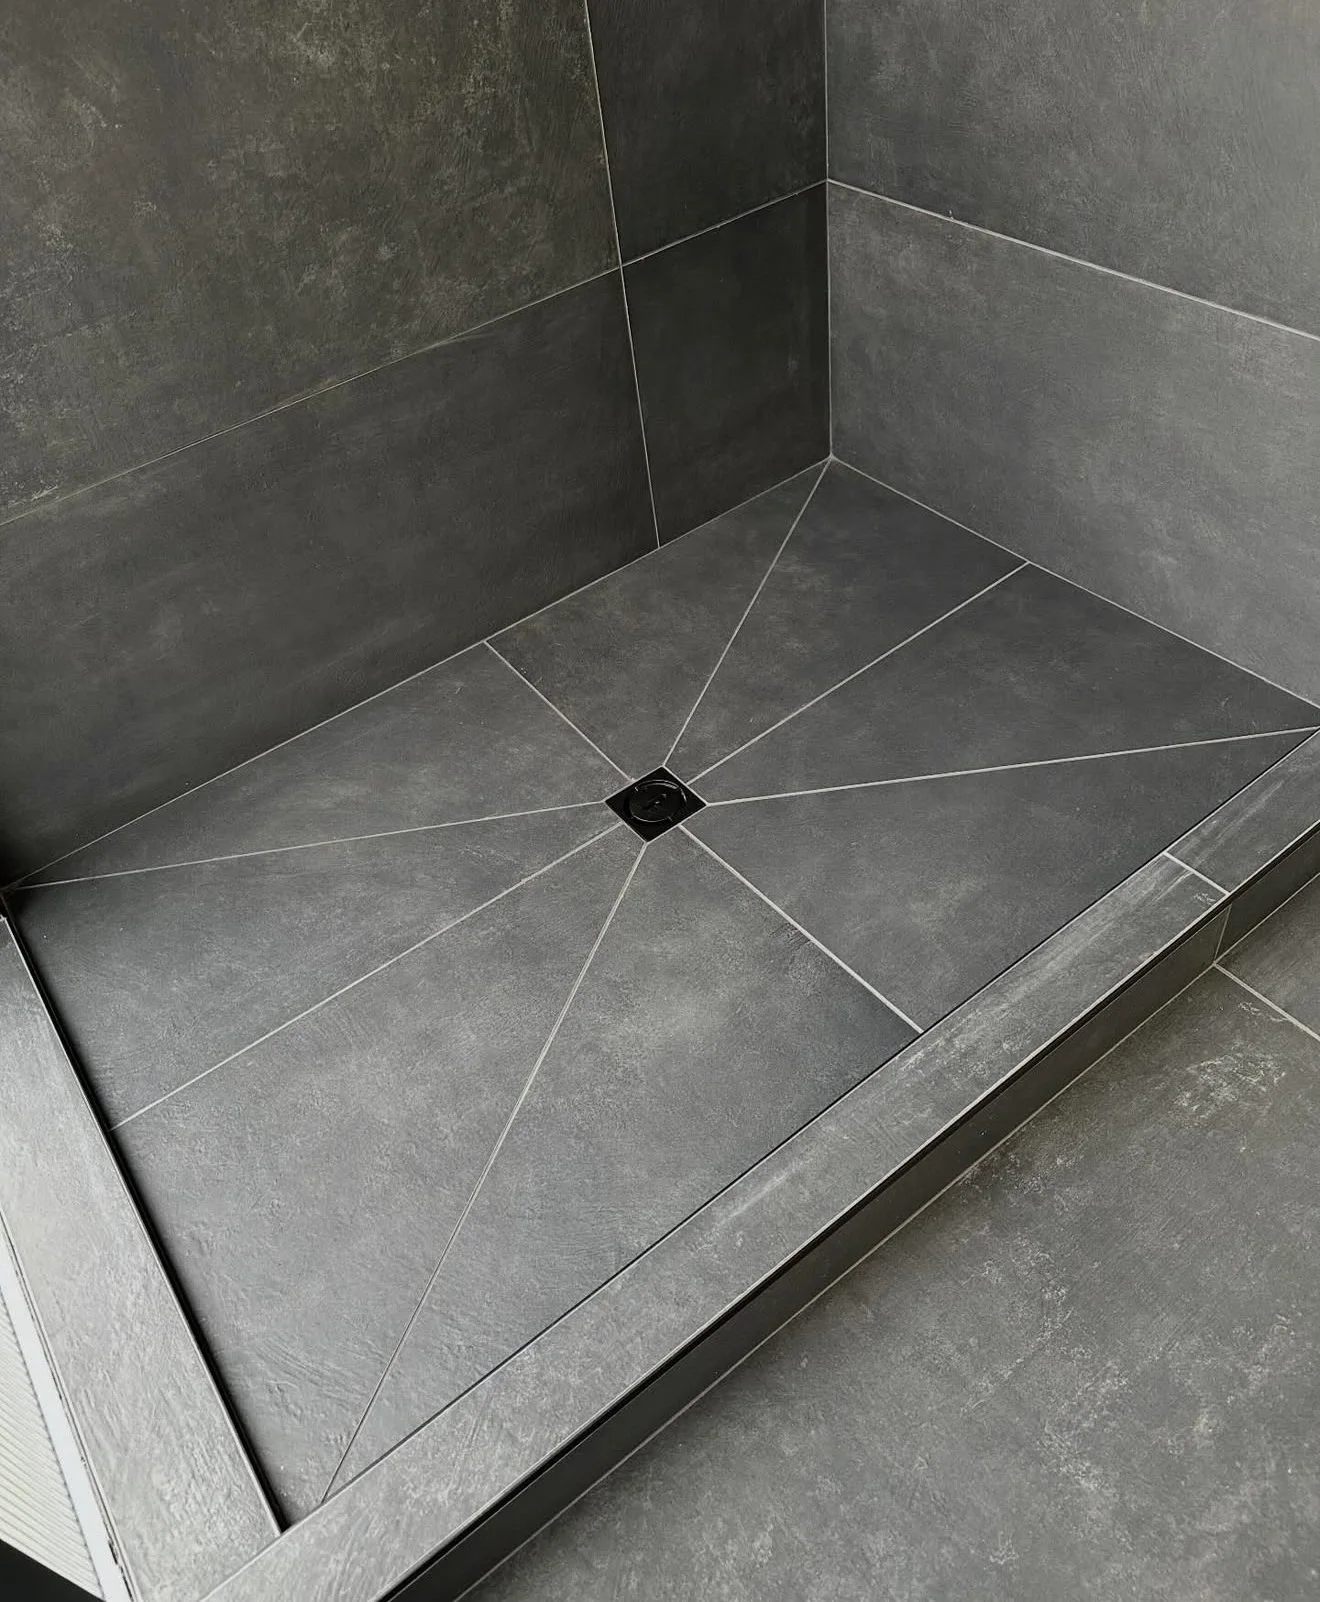
Shower Pan Installation and Leak Repair
A leaking shower pan causes hidden water damage, mold growth, and structural deterioration. We diagnose the source, remove the failed system, and rebuild with proper waterproofing that passes a flood test.
Signs the Shower Pan May Be Failing
A leaking shower pan often goes undetected for months or years because the water escapes beneath the tile — not on top of it. By the time visible signs appear, significant damage may already exist behind the walls or beneath the floor. Here are the most common indicators of shower pan failure in DFW homes.
Water stains on the ceiling below the bathroom. If your shower is on a second floor, brown water stains or bubbling paint on the ceiling directly below the shower are the clearest sign of a pan leak. On slab-on-grade homes (common throughout Fort Worth and Arlington), the water has nowhere to go but into the slab, making detection harder.
Loose or hollow-sounding floor tile. If the tile on the shower floor sounds hollow when tapped, the tile bond has failed — usually because persistent moisture beneath the tile has degraded the thinset or substrate. This is a strong indicator that water is getting past the tile layer and the waterproofing (if any exists) has failed.
Musty smell near the shower. Persistent musty or moldy odors near the shower — especially noticeable when the bathroom has been closed up — indicate moisture accumulation behind the walls or beneath the floor. The moisture source is almost always a failed shower pan or missing waterproofing membrane.
Cracked grout that keeps returning. If you re-grout the shower floor and the grout cracks again within weeks, the substrate beneath the tile is moving — typically because it has absorbed water and is expanding and contracting. Re-grouting addresses the symptom, not the cause. The real problem is below the tile.
Why Shower Pans Fail in North Texas Homes
Understanding why shower pans fail helps explain why repair typically means full replacement rather than a patch job.
No Waterproofing Membrane
Many older DFW showers were tiled over cement board or drywall with no complete waterproofing layer. Grout is porous, so water eventually reaches the substrate, wall framing, or subfloor and creates the conditions for rot, mold, and failure.
Inadequate Slope
A shower pan must move water toward the drain instead of allowing it to pool. When the slope is too shallow, standing water puts constant pressure on grout joints and weak points in the waterproofing system.
Aging PVC Liners
Traditional liner systems can become brittle, separate at seams, or fail around curb penetrations over time. Once water bypasses the liner, it can travel under the mortar bed and into surrounding structure before the problem becomes visible.
Drain Connection Failure
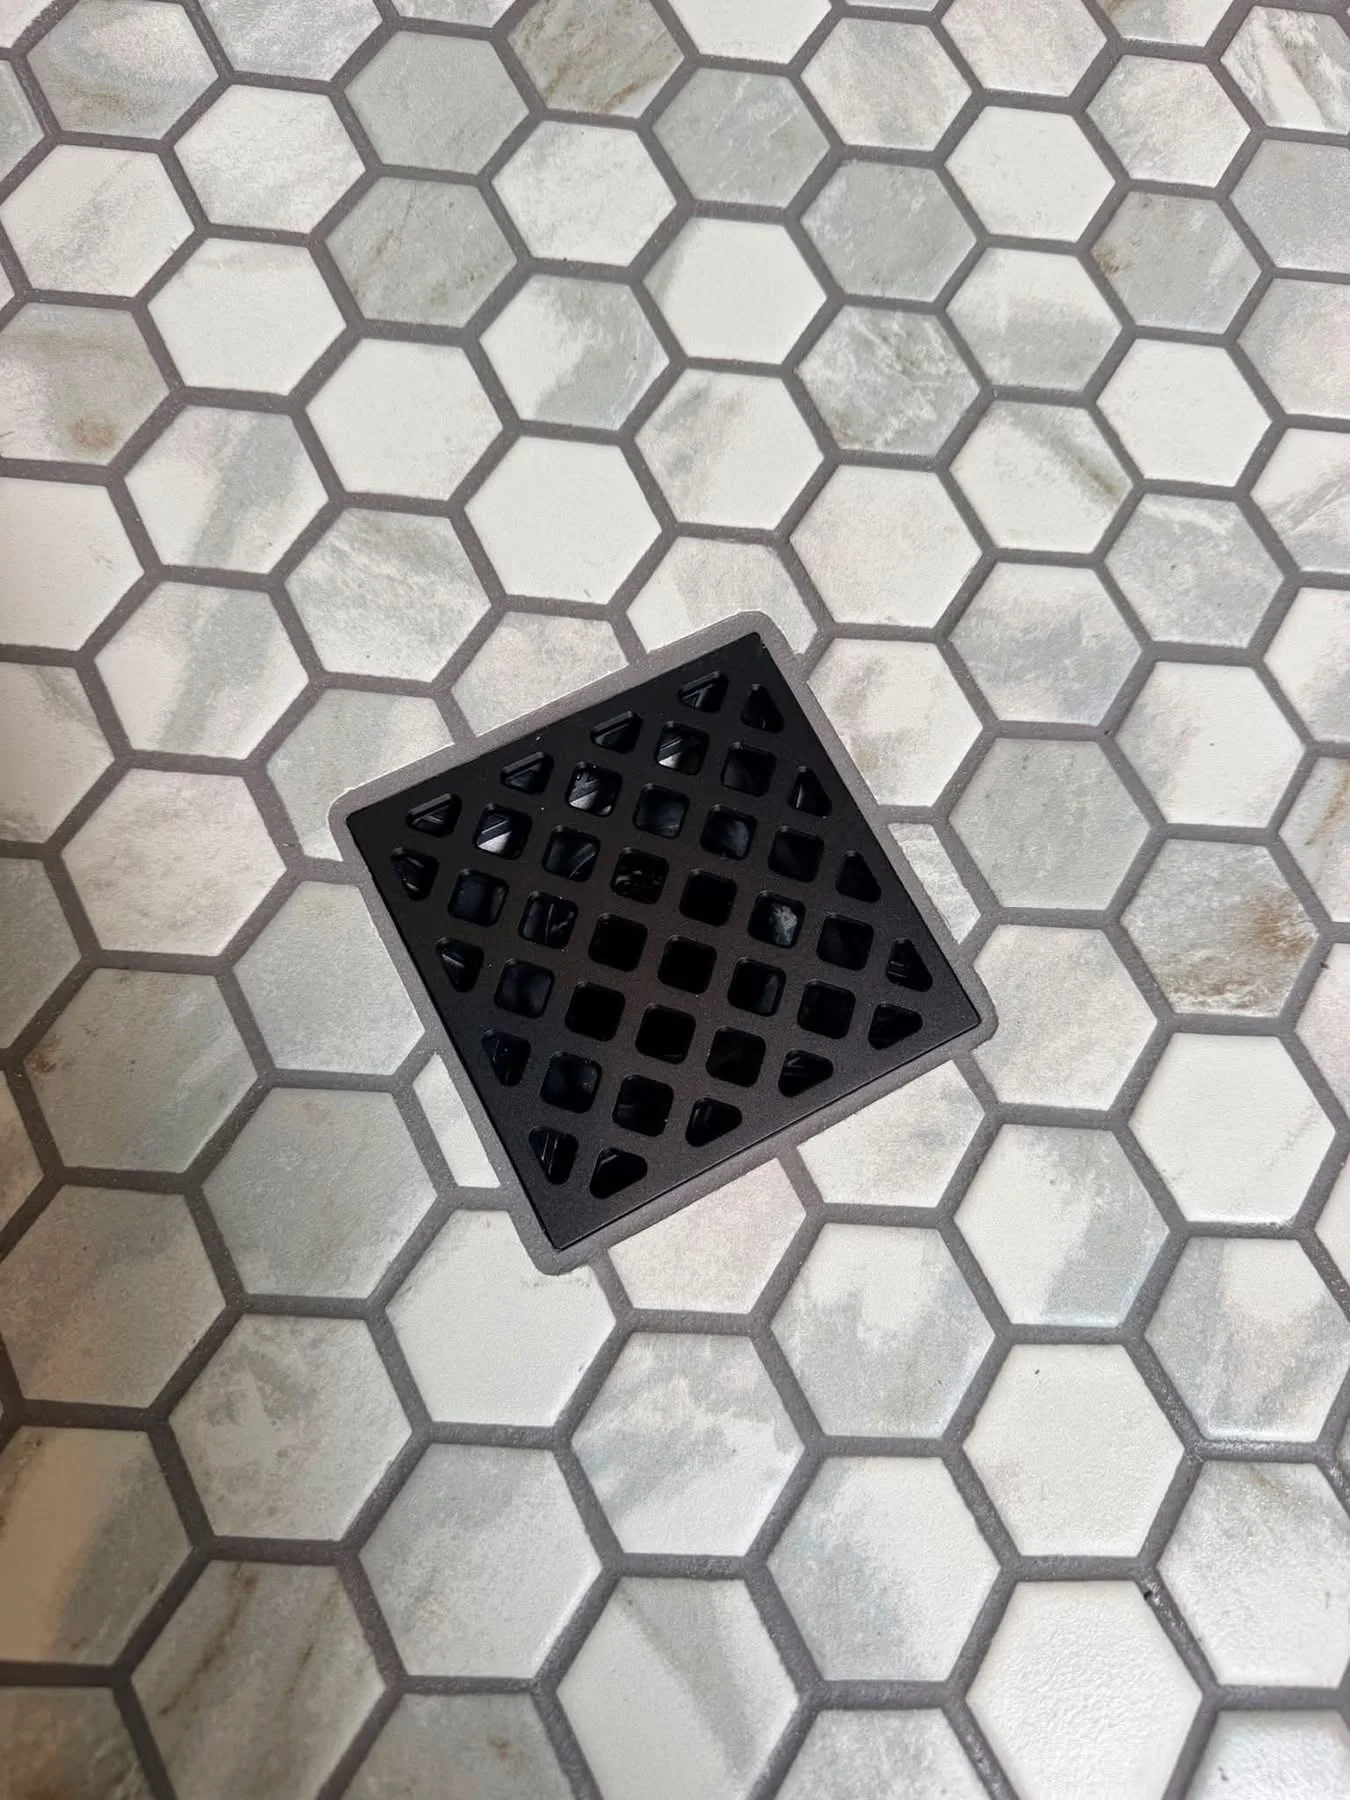
The drain assembly is a common leak point. The waterproofing membrane, drain flange, and drain pipe have to work as one sealed connection; if that connection loosens or was built incorrectly, water can escape even when the rest of the pan looks intact.
Slab and Soil Movement
North Texas clay soil expands and contracts with moisture changes. That movement can crack mortar pans, disturb drain seals, and stress tile assemblies that were built without the right uncoupling or waterproofing strategy.
Surface-Only Patches
Re-grouting, sealing, or coating over existing tile may slow visible symptoms for a short time, but it does not rebuild the failed waterproofing beneath the surface. Reliable repair means removing failed materials and rebuilding the shower base correctly.
How We Rebuild the Shower Base
A proper shower pan installation is really a shower pan replacement. Patching a failed waterproofing system does not work — the only reliable fix is to remove the failed system completely and rebuild it correctly. Here is our process.
1. Assessment
We inspect the shower to identify the leak source. This may include checking for water stains on adjacent surfaces, testing the drain connection, and evaluating the condition of the existing tile and grout. In some cases, we remove a section of tile to inspect the substrate and waterproofing (or lack thereof) behind it.
2. Demolition
All existing tile, mortar bed, waterproofing material (liner or membrane), and damaged substrate are removed from the shower floor and lower walls. We inspect the structure behind the tile for mold, rot, or water damage and address any damage found before proceeding. On slab-on-grade homes, we inspect the drain pipe connection in the concrete.
3. Rebuild the Substrate
New cement board or foam panel (Schluter-KERDI-BOARD) is installed on the shower walls. The shower floor is prepared with a pre-sloped mortar bed or a Schluter-KERDI-SHOWER-ST pre-formed tray that provides the correct drainage slope. The drain assembly is installed with a bonded flange connection that integrates directly with the waterproofing membrane.
4. Waterproofing
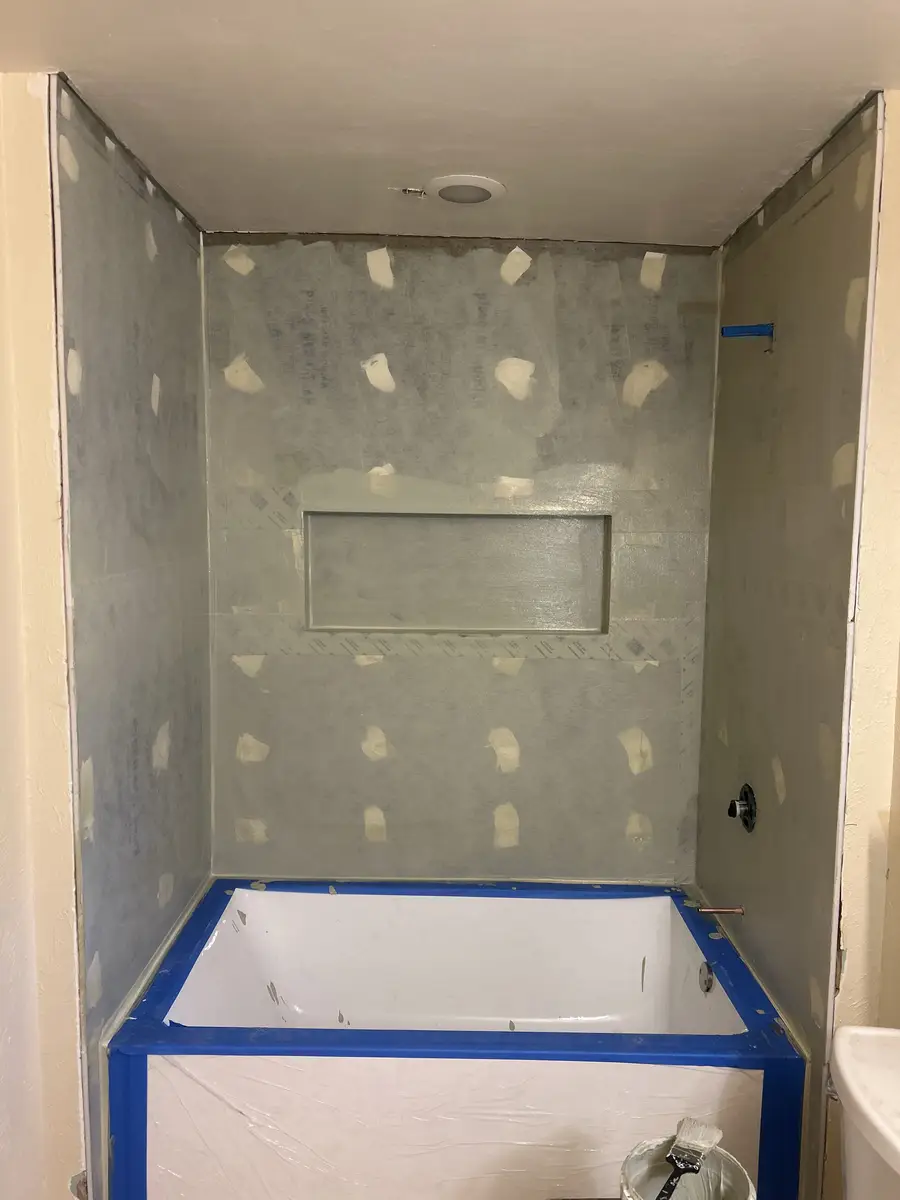
Schluter-KERDI waterproofing membrane is installed on all shower surfaces. Pre-formed corners (KERDI-KERECK) and pipe seals (KERDI-SEAL) create a continuous waterproof envelope with no seams that rely on sealant alone. The completed waterproofing is flood-tested for 24 hours — we fill the shower pan with water and verify it holds before any tile is set.
5. Tile & Finish
New mosaic tile is installed on the shower floor (for proper drainage slope conformity and wet traction), and wall tile is installed on the lower walls that were affected. We match existing tile when possible or tile the entire shower for a cohesive finished look. Grouting, sealing, and fixture reinstallation complete the repair.
Related Shower Work After Pan Failure
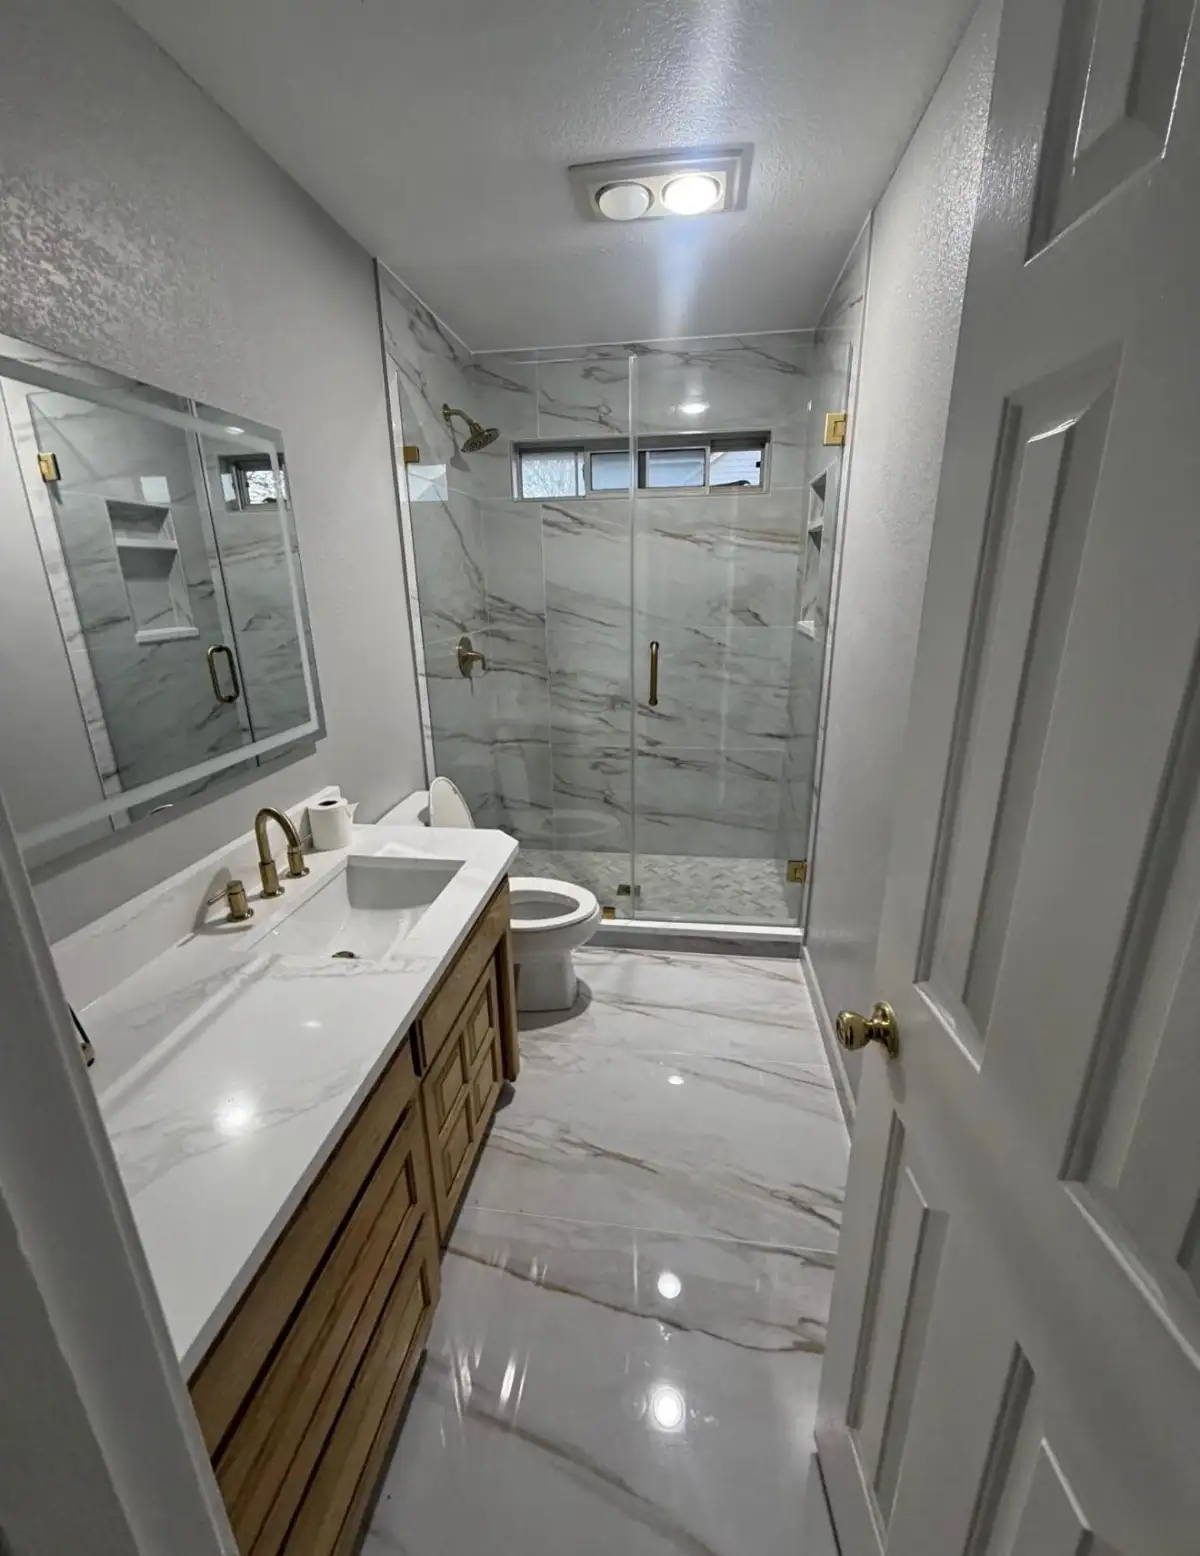
Shower rebuilds that replace failed waterproofing and reset the tile system.
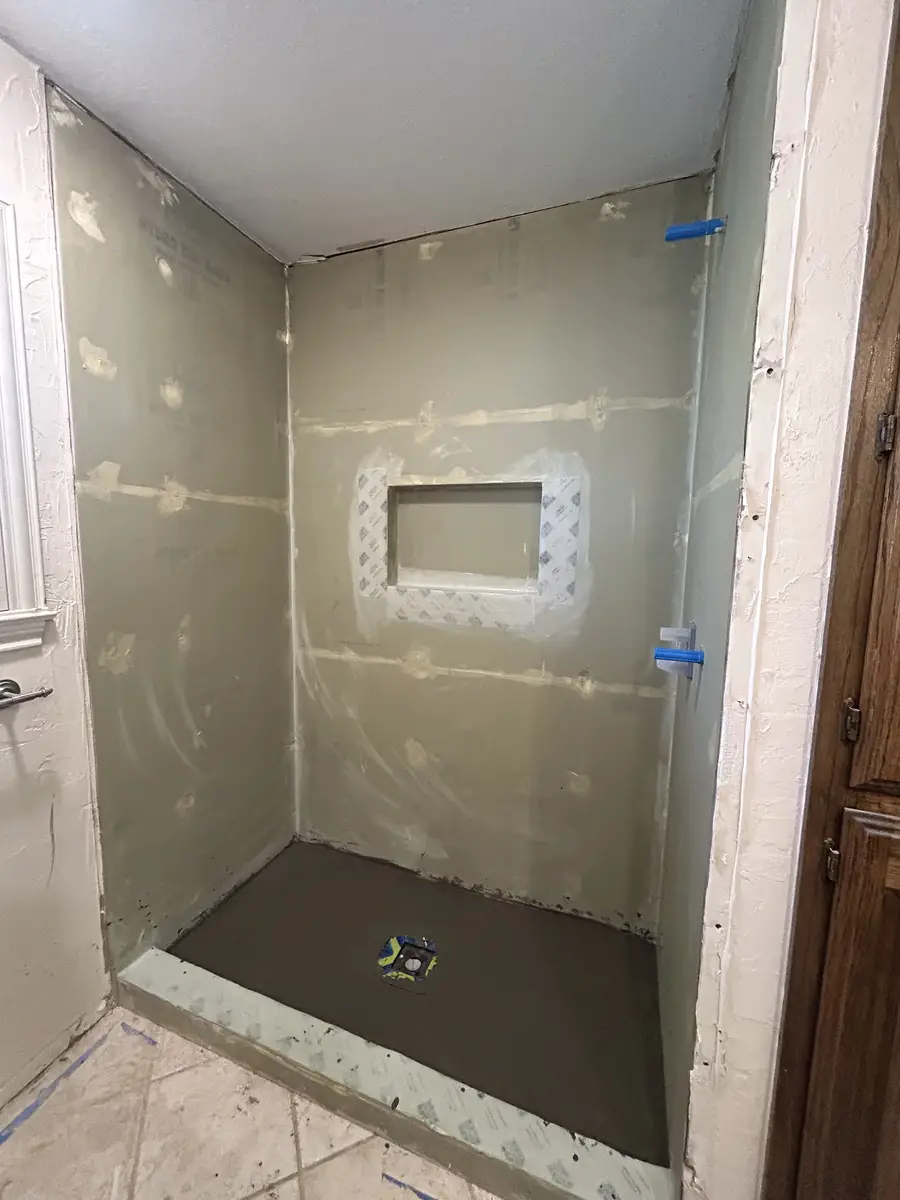
Mold & Shower Wall Repair
Wall repair with moisture control and waterproofing details that hold up.
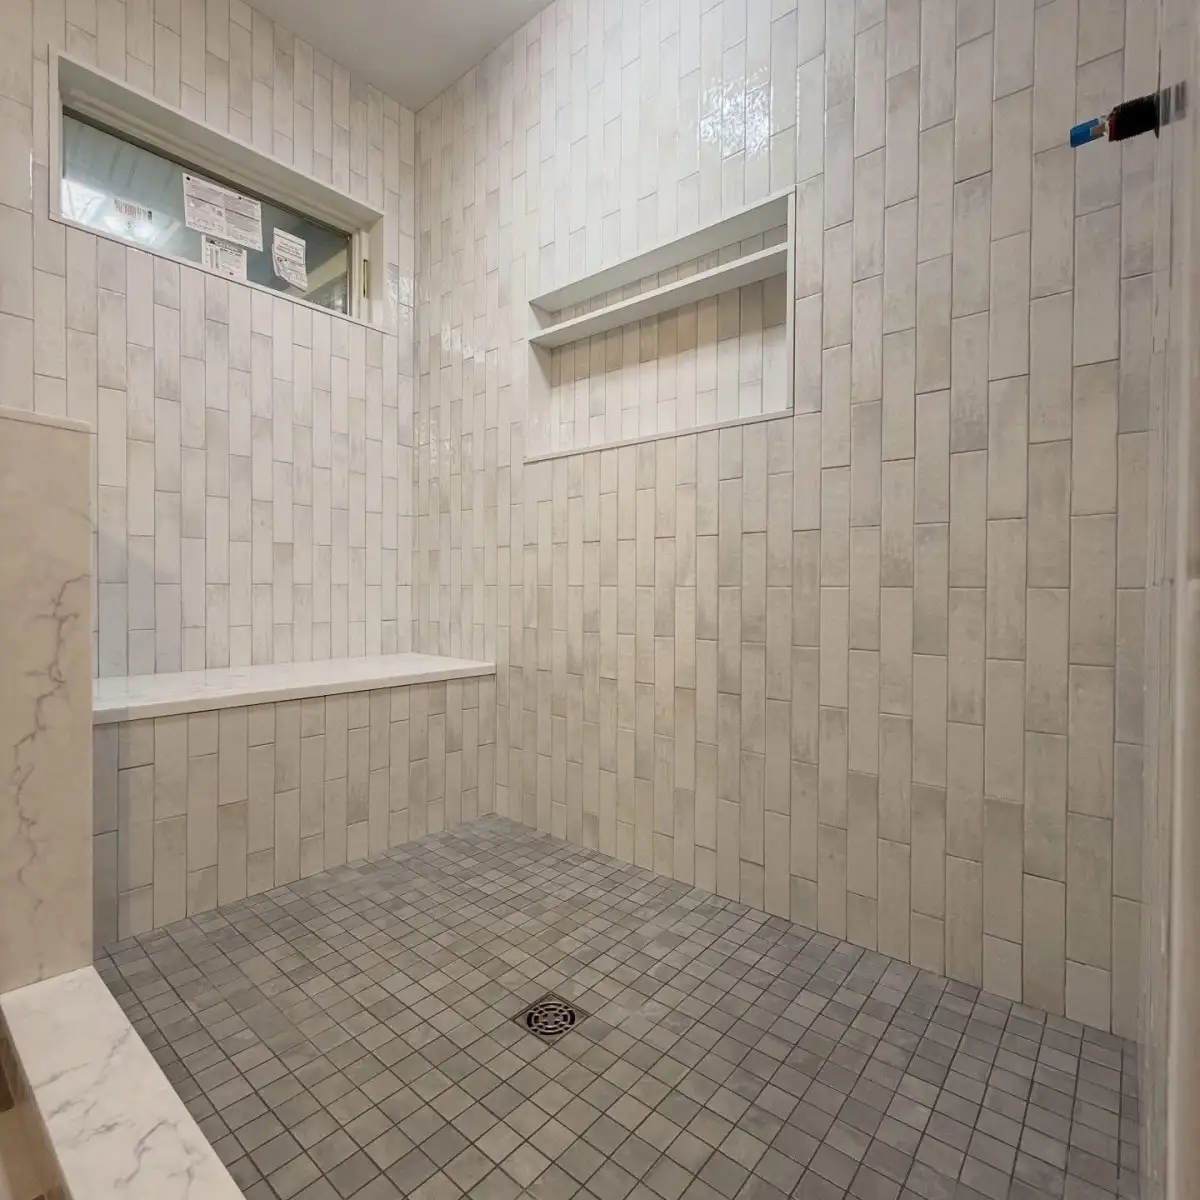
Tile setting for shower floors, repaired walls, bath floors, and accents.
Shower Pan Installation FAQ
In most cases, no. The waterproofing system is beneath the tile — repairing or replacing it requires removing the tile to access the membrane, mortar bed, and drain connection. Surface treatments (re-grouting, topical sealants) may slow the leak temporarily but do not fix the underlying waterproofing failure. A proper repair means removing the tile, rebuilding the waterproofing, and re-tiling. We know this is not the answer homeowners want to hear, but it is the honest one.
A shower pan replacement typically takes 5 to 8 days. This includes demolition (1 day), substrate preparation and drain work (1 day), waterproofing and flood testing (2-3 days including cure time), and tile installation and grouting (2-3 days). If damage behind the walls requires additional repair (mold remediation, structural repair), that may add 1 to 2 days depending on the extent of damage found after demolition.
Mold growth behind shower walls is a health concern, particularly for individuals with allergies, asthma, or respiratory sensitivities. The mold itself is not always visible — it grows on the drywall, wood studs, or substrate behind the tile where persistent moisture creates ideal growing conditions. During shower pan installation, we inspect all exposed surfaces for mold and address any growth found. If mold is present, we remove affected materials, treat the area, and install new substrate before waterproofing. Learn more about mold and shower wall repair.
That depends on the condition of the rest of the shower and your budget. If the wall tile is also dated, damaged, or you were already considering a shower remodel, combining the pan repair with a full shower renovation makes sense — since the tile will already be removed, the additional cost to tile the entire shower is mostly material. We can provide estimates for both options (pan repair only vs. full shower remodel) so you can make an informed decision.
Shower Pan Installation Across the DFW Metroplex
We repair and replace failed shower pans for homeowners in Fort Worth, Arlington, Southlake, Flower Mound, Grand Prairie, Mansfield, Cedar Hill, Azle, White Settlement, and nearby DFW communities.
Stop the Leak Before It Spreads
Do not wait for the damage to spread. Schedule a free assessment — we will identify the source of the leak and provide honest recommendations for repair.